If you’re searching for ways to have the dish on your roof, go for the Starlink volcano mount!
After all, it’s one of the easiest to put together and doesn’t cost much money.
And the mount works just fine for something that boosts your dish’s much-needed satellite signal.
So, let’s dive into this topic and see how you can install it!
The Volcano Mount
Many people have chosen the volcano mount as their go-to for the dish roof placement.
It has a simple design with a strong, reliable base and carries a low price tag ($24).
And you only need to put a little effort into drilling and securing it.
Do An Obstruction Check Before Installing
Before getting started, look for obstructions in the sky. They may weaken the satellite signal or prevent it from reaching your Starlink dish.
And nobody wants that to happen — it’ll cause disruptions or make your internet not work.
So go outside, pull out your smartphone, and fire up the Starlink app. Then, tap on the ‘Visibility Tool’ from the main page and select ‘Check for obstructions.’
After that, your phone camera turns on, and you must choose ‘I’m ready!’ (found on the bottom of your screen).
Starlink runs best with a 100-degree field-of-view free of obstructions because the satellites always move.
Otherwise, your Dishy may not receive those signals, So keep that in mind when you scan the skies.
The app will then tell you to ‘point your camera up.’ Keep moving in that direction until you see no dark shades on the screen.
While doing this, watch out so trees, bushes, and buildings aren’t in the picture.
That helps you get a clear sight of all incoming satellite signals. And from there, you can say goodbye to slow internet speeds!
How To Install Starlink Volcano Mount
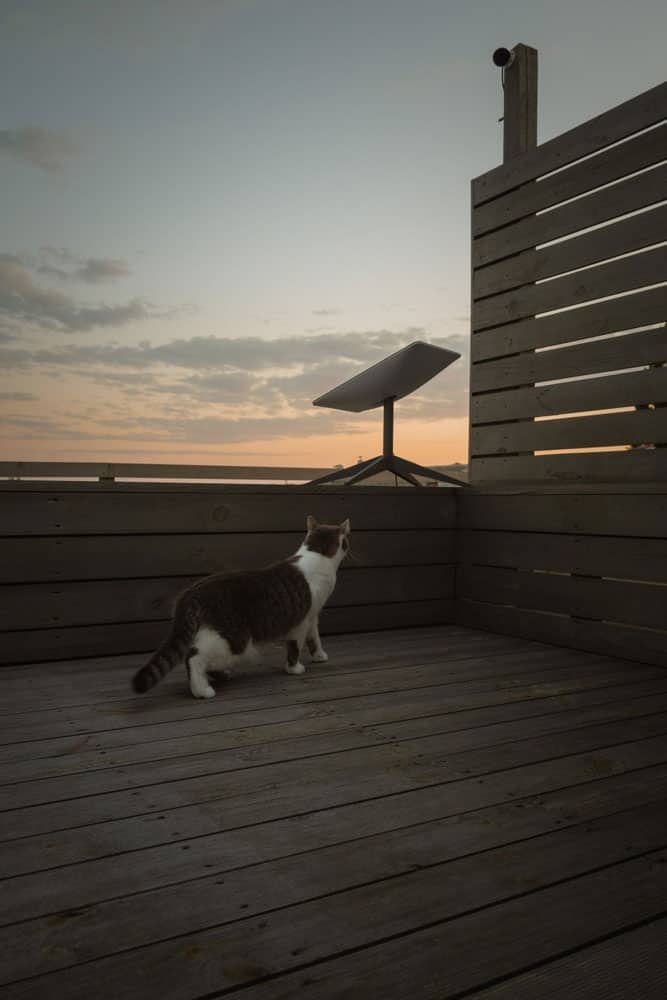
Starlink on a roof.
These steps can help you get everything set up and ready. So continue reading to mount your Starlink satellite dish!
Equipment
The Volcano roof mount kit already covers most of the essentials. So you won’t have to go out and buy them for your dish.
- Carrying bag
- Mount
- Six Lag bolts
- Forty Wall clips
- Sealing tape strips and squares
You’ll also need to gather these tools to set up the mount:
- Drill
- 5/32” Drill bit
- ½” Socket wrench
- Stud finder
With all that in hand, go through each step carefully to complete it without problems.
Cable Route
It’s a good idea to figure out exactly how the cable should run to your roof. Doing so will allow you to set the router wherever you like inside.
Drill a hole measuring ¾” in the wall at the house’s side. This makes it much easier for the 100-foot cable to go straight into your home by pushing it through that hole.
Locate The Stud And Do Some Drilling
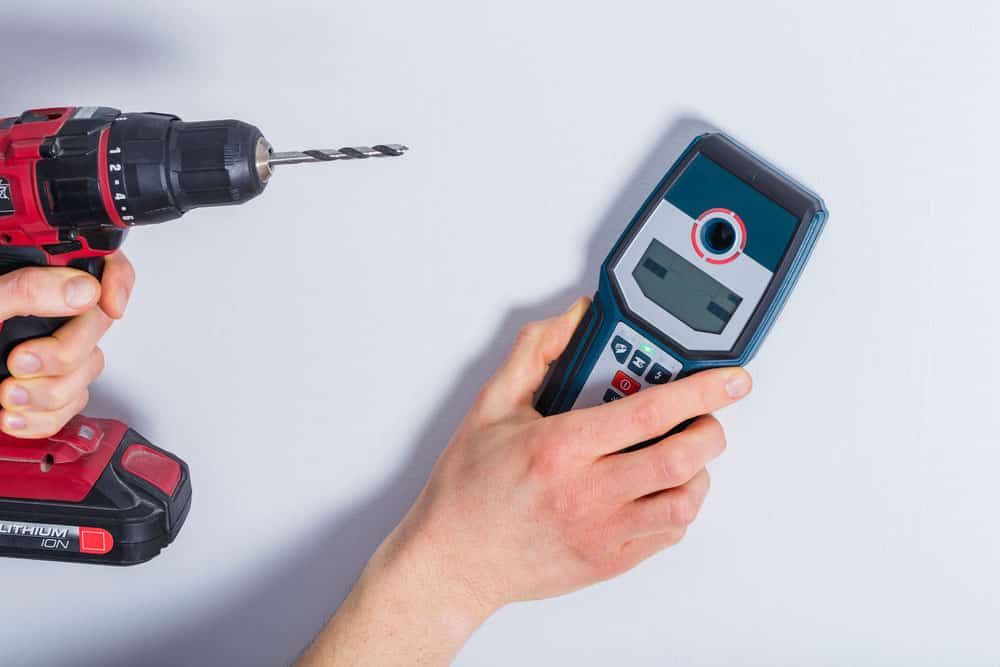
Example of a stud finder.
Grab your stud finder and use it to find a stud on your roof. This will help support the volcano mount when it’s time to place it.
Afterward, put your mount on the stud and draw six circles atop that area. Use the 5/32” drill bit to drill holes where you added the circles.
Sealing Tape
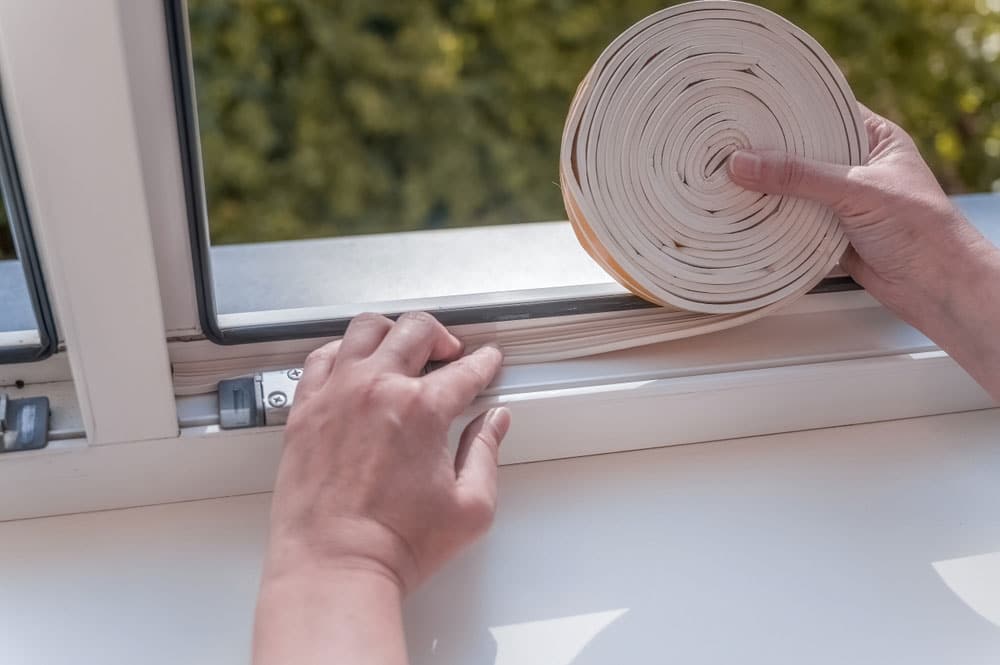
You will need some sealing tape.
Grab the sealing tape squares and form them all into six balls. Place each one over the drilled holes — make sure you also cover the edges!
Then, put both the sealing tape strips atop the six covered holes where you’ll set the mount.
Set Your Mount
Get your volcano mount and align all six pre-drilled holes with the tape balls and strips. It would help to push your mount downwards to give it a strong grip with the tape.
Add two long lag nuts into the center holes and four shorter ones in the others. Ensure you drive them all 90% and tighten them via the ½” socket wrench.
Everything is ready when the tape escapes from the mount’s edge. Of course, this will only happen after screwing in the lag nuts.
Mounting The Starlink Dish
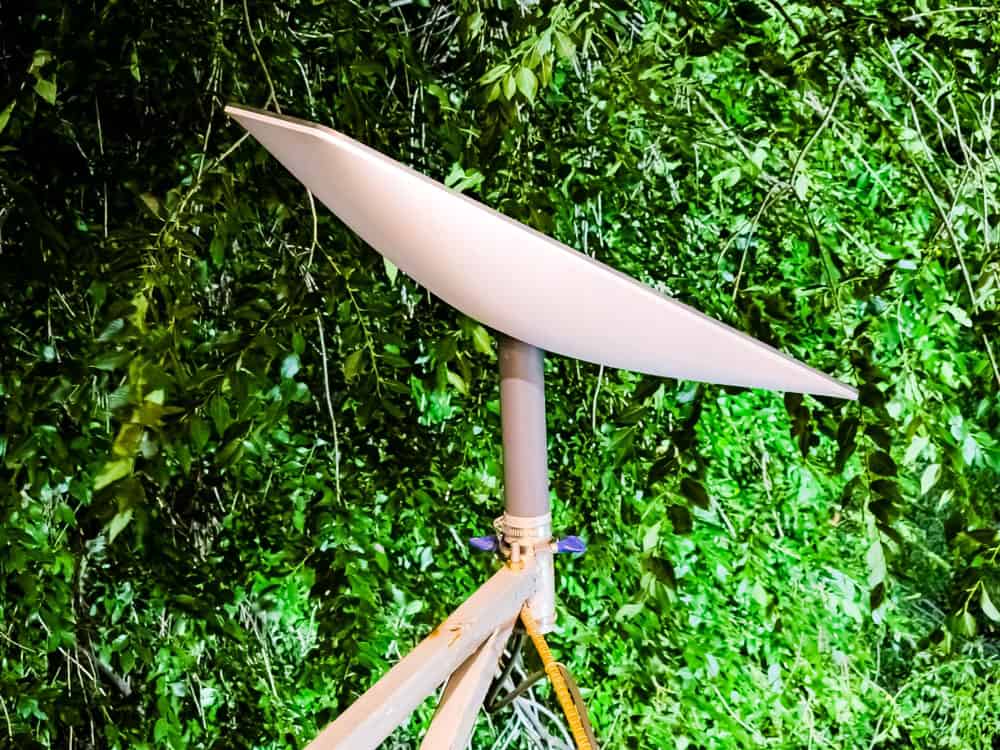
Starlink satellite dish.
Collect your Starlink dish/cable! Place these two in the carrying bag before taking them to your roof. This will help eliminate any risks of drops and damage.
Head over to where you installed the mount and bring out the dish. Afterward, put the dish mast inside the mount’s central hole.
Finally, the last thing you need to do is adjust the dish until it has a 40-degree vertical alignment.
Run The Cable
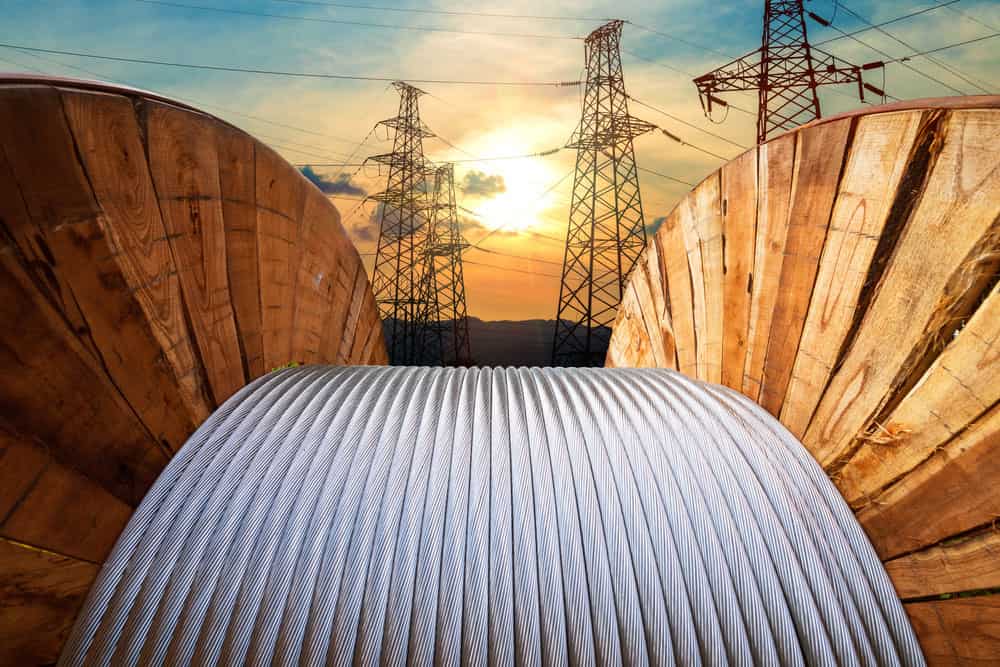
Image of electrical cable.
Route your cable based on your plans, and use wall clips to fasten it along the outside wall. Push the cable through the ¾” hole you drilled into the wall earlier.
Power It Up And Test Starlink
Speed test.
Hook the cable up to an electrical outlet in your home and wait for the dish to connect with the satellite.
It may also try to adjust itself to form a stronger connection, so be patient for this to finish!
Afterward, do a speed test in your Starlink app to confirm you have the right download/upload speed.
Those speeds may change daily depending on the satellite’s sky position.
Summary
It would be best if you didn’t run into any problems with this mount. You’ll discover it can last long because of its flexibility and strong support.
So you won’t have to worry about replacing it anytime soon — especially in troubling weather!