Since Starlink has become a global product, Starlink’s power supply will likely become a rising concern. European power outlets, fixtures, and systems might be different from North America’s. However, Starlink’s power supply remains the same.
The Starlink system runs on a 50-60Hz 100-240V AC power supply. Starlink has no direct DC power supply options for residential or RV users. You can improve Starlink power usage by almost 50% if you convert the power supply from AC to DC. We recommend the AC to DC conversion if you use Starlink mostly for your RV.
We’ll show you how to convert AC to DC power supply using third-party Starlink DC power supply accessories.
Can You Convert Starlink Power Supply?
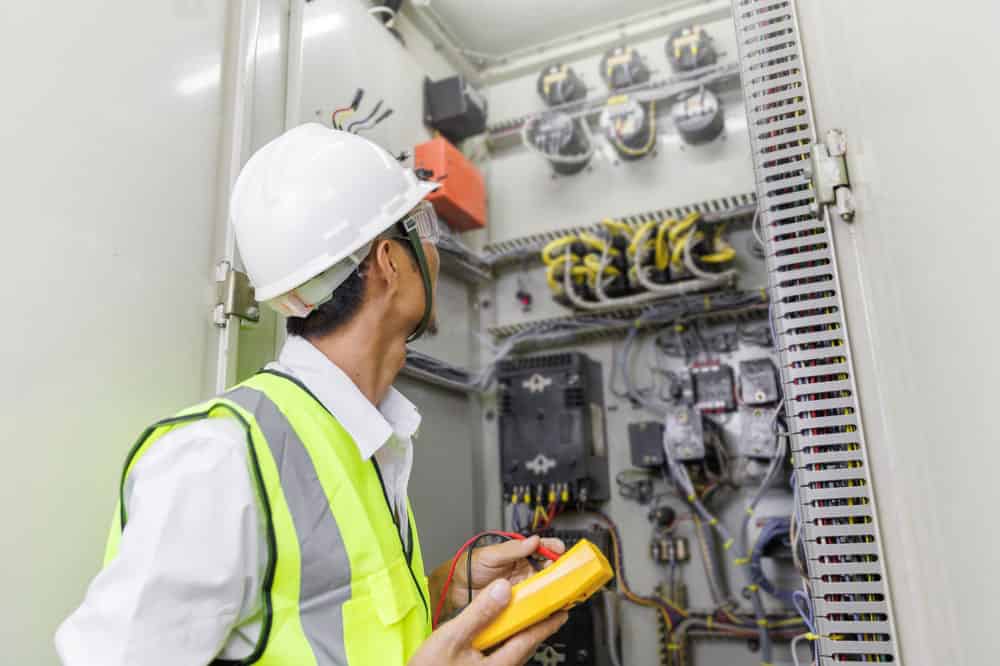
Electrical technician inspecting DC power supply on the grid
The 100-240V AC Starlink power supply works well while you are connected to the power grid. After all, the Starlink kit is not a heavy power drainer on your system.
However, it can be a drain if you’re using solar or battery power and running a tight time vs power schedule.
Therefore, you need a system to convert the AC supply to DC.
Here’s how Starlink works.
The Starlink router acts as the electric supply to the dish. It receives the AC power first, converts it to 48V DC power, and then transmits it to the Starlink dish.
The most common option is getting a DC-AC-DC converter. The only problem with this loop is that it is not the most power-efficient. Since you are using limited reserve power when connected to a rechargeable battery, you must cut down on the power draw.
How To Convert AC to Starlink DC power supply
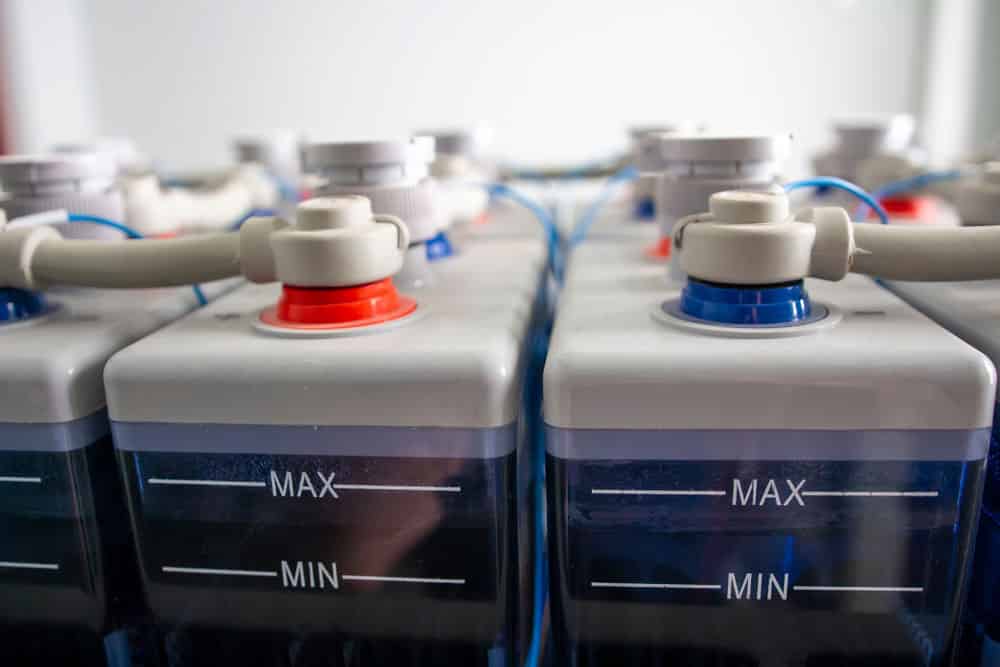
DC terminals in a battery storage facility
Warning: Handle electricity with care.
Your best option is getting third-party Starlink DC power supply accessories from verified sellers. Starlink does not stock direct DC-DC converters.
Accessories Needed:
- 48V DC-DC Converter. (This converter won’t be necessary if you have a 48V battery.)
Dish cable adapter. It must accept the Starlink cable and have a CAT5 or 6 RJ45 connector. - POE (power over Ethernet) injector.
- Third-party WiFi router
- Third-party Ethernet cables
Tools needed:
- Screwdriver
- Crimping tool
- Crimp connector
Let’s convert AC to DC power for Starlink.
- Take a thick piece of flat wood. Glue the Dish cable adapter on one end, the DC-DC converter on the other, and the PoE injector in the center. Alternatively, screw them down on the piece of wood.
(This arrangement is optional. Tweak it, however; you find it manageable in a way that makes it easy to connect all the components neatly.) - Connect the power supply’s (+ve) end to the PoE’s (+ve) terminal. Connect the power supply’s (-ve) end to the PoE’s (-ve) terminal.
- Connect the cable adapter to the PoE injector using the cable adapter’s Ethernet cable.
- Connect Starlink to the cable adapter using the Starlink cable.
- Insert the other Ethernet cable’s RJ45 connecter into the PoE injector’s ethernet port and the other end to the third-party router.
- Set up and configure the third-party router with your WiFi username and password. (Configuration settings are included in the router manual). Ensure you can plug the router into your 12V power source/battery.
Powering your DC setup
- Connect your power source’s (+) to the power supply’s (+). Do the same thing for the power supply and source’s (- )ends.
- Plug the 12V DC power into the third-party router. The 12V power should typically come from your RV’s fuse block.
Alternative Starlink DC Power
This alternative method may have a longer process or more complications. However, it could help you further cut down power demands on your system.
Accessories needed:
- Starlink Ethernet Adapter
- 48V DC-DC Converter
- POE Injector
- Shielded RJ45 Connectors
- A third-party WiFi router
Tools
Wire stripper and cutter tool
- A combined wire-cutting and stripping tool
- Combined electrical and RJ45 crimping tool.
- RJ45 shielded connectors
- Screwdriver
- Splice connectors
- Ethernet cable
Fix the Starlink Ethernet Connector
This step involves placing a shielded RJ45 connector in the Starlink Ethernet adapter and removing the original Starlink connector. The change allows you to supply power to the dish using your power supply instead of relying on the Starlink router as the dish’s power source.
First, you need to change the RJ45 wiring. The typical color scheme in an ethernet cable is as such:
- White orange, Orange
- White Green, Blue
- White, Blue, Green
- White brown, Brown
Change it to:
- White orange, Orange
- Blue, White, green
- Green, White Blue
- White brown, Brown
Crimp the RJ45 connector with this new arrangement.
Model the DC power supply unit.
- Screw down the 48V DC-DC Converter and POE Injector onto a wood piece.
- The DC-DC converter voltage in and voltage out wires go to your battery system.
- Plug the DC–DC converter’s voltage out wires into the PoE injector. The white wire goes to the +ve end, and the black one goes to the -ve terminal.
Change your router cable arrangement.
- Remember the third-party ethernet cable? You’ll use it to connect the router and the PoE injector. So you need to change the wire pinout arrangement.
- Cut the cable wire and strip the RJ45 wires. Match the arrangement to the one you did in Step One.
Here’s the arrangement.
- White orange, Orange
- Blue, White, green
- Green, White Blue
- White brown, Brown
Create a Router Power Supply
- Use the wirecutter and cut the wall plug section.
- Strip the wires so you have ends to connect to the battery.
- You may need butt splices to connect the router to the RV fuse block. At this point, the power is already 12V DC.
Ensure the following connections are ready and secure.
- An RJ45 connector in place of the Starlink connector.
- The DC-DC converter’s output connects to the PoE injector input.
- The router-to-PoE injector cable has a modified RJ45 connector.
- You can connect the router power supply to the battery system.
Final connections
- Connect the battery to the DC-DC converter.
- Connect the Starlink dish cable to the Ethernet adapter.
- Connect the modified Starlink Ethernet Adapter RJ45 connector to the PoE injector’s Power port.
- Connect the PoE injector from the data port to the router’s WAN port.
- Connect the router power supply to DC power.
The router should turn on at this point. Also, you should have setup and configured the router.
Starlink Test
It may be messy, but if all the connections are right, the aftermarket router should be showing it’s powered and showing an online WiFi connection.
You’ll know the dish is receiving power if it has aligned itself vertically. Still, you can check on your Starlink app.
Give your dish time to boot. The app will indicate an ONLINE status after the dish searches for a signal and aligns.
Perform a network speed test on Ookla or any speed test site. A successful setup should show speeds similar to before.
Conclusion: Is Starlink DC Power Conversion Worth It?
Starlink AC to DC Power conversion is more of a passion project if you’re permanently on the grid. However, it could save you precious watt hours in drastic situations if you rely on stored power outdoors.
Also, it’s a fancy skill you can use for other people looking to switch Starlink from AC to DC.