Knowing the Viasat installation process is very crucial if you are considering a switch to this reputable satellite network.
Viasat users don’t need to worry about the installation. Once you complete your order, the company will send one of their trained and certified technicians to help you with the installation services.
Furthermore, the standard installation is free. You may only incur additional installation charges if your home requires other mounting methods other than what the company considers standard.
However, it is important to know what the company technician will help you with and the expenses you may incur. Read on to learn.
How Does Viasat Installation Work
Unlike Starlink, Viasat is not designed for DIY installation. This is great news since satellite installation is not everyone’s cup of tea.
In addition to the risk of falling from height, you will be dealing with wirings and technical systems such as router configuration.
Viasat can have a well-trained technician set up the equipment at your home and ensure it is properly working.
When you purchase your plan online or via phone, the company will let you know about the arrival date of their professional installer.
The date is usually between 2 and 5 days from the day of purchase.
On the installation day, the technician will arrive with the equipment, including the satellite dish, a WiFi Gateway Modem, cable, and any other additional equipment he may need.
The installation process involves a site survey of your home, mounting the dish, running the cord from the dish to the router, and device configuration.
The installer should also help you connect your devices to WiFi for testing. In just less than 3 hours, you should have your Viasat system up and running.
How Much Does Viasat Charge for Installation?
Viasat equipment can cost a one-time fee of $299.9 or a lease fee of $9.99.
Fortunately, the company doesn’t charge for standard professional installations. These may include non-penetrating roof mounts and wall mounts.
However, you may end up spending up to $99 on installation if your home is not ideal for the company’s standard installation services.
The additional charges will depend on the nature of the work. For instance, where the installation involves drilling holes on your roof/ penetrating the roof.
Pole mount also falls under the company standard installation. However, you will have to purchase the pole at around $75.
Viasat Installation Process
As mentioned before, a Viasat installer will handle all the necessary installation processes, whether standard or non-standard installations. However, the technician may need your cooperation.
If you live in a rental, it is up to you to inform the landlord about the project and get permission. The technician’s main work includes:
Site Survey
On the day of installation, a company-certified technician will arrive and conduct a survey to determine the appropriate location for setting up the system. The installer will make decisions based on the technical requirements.
One of the key factors that will determine the decision is a clear field of view. The dish should be away from obstructions such as trees and tall buildings.
How the cable will run from the dish through the wall into the house may also affect the dish location.
However, it is important that the chosen location aligns with your preference and meets other regulations.
Let’s say the chosen dish location doesn’t favor your preferred router location. Feel free to communicate openly with the technician and share any concerns or preferences you may have.
Installation of the Satellite Dish
The Viasat installer will mount the 30-inch by 28-inch dish permanently or temporarily on the side of your wall, rooftop, or a secure pole near your home.
The standard installation options, such as an on-penetrating mount, are the priority for most people.
There is no drilling of holes or penetrating the roof and this helps preserve the integrity of the roof.
If the installer determines that standard installation cannot work for you, the company may recommend non-standard options.
These include penetrating roofs or under eaves options. These options involve drilling holes in your building which may require additional tools and equipment.
The extra work involved and the additional requirements come at a cost.
Run the Cable
Once the installer properly mounts the dish, the next step is to run the cable down the exterior wall of your house to the point where it passes inside.
The installer drills a small hole to run the cable inside neatly and professionally.
You want the technician to install the cable in your house into the same room you want him to set up the router.
Viasat dish cables have a limit in terms of length, so choose a room closer to the dish. The company only uses a solid copper RG-6 which can be up to 150 feet.
The cable should be tightly grounded and secure on the wall. The grounding should also be in compliance with any applicable Federal Communications Commission (FCC) and electrical rules and regulations.
Thankfully, Viasat installers are well-trained and will place the cable accordingly.

A technician in uniform made a hole in the wall
Setting Up Viasat WiFi Gateway Modem
Once the outside work is complete, the next thing is connecting the dish cord to the modem.
The latest Viasat gateway modems have a built-in router. The device also comes with four ports, meaning you can connect multiple devices.
If the available modem ports aren’t enough for your devices, you can bring in a third-party router.
However, the company will connect your computer directly to the gateway modem during the installation. Ideally, the system works fastest if you directly hook up the computer to the gateway modem.
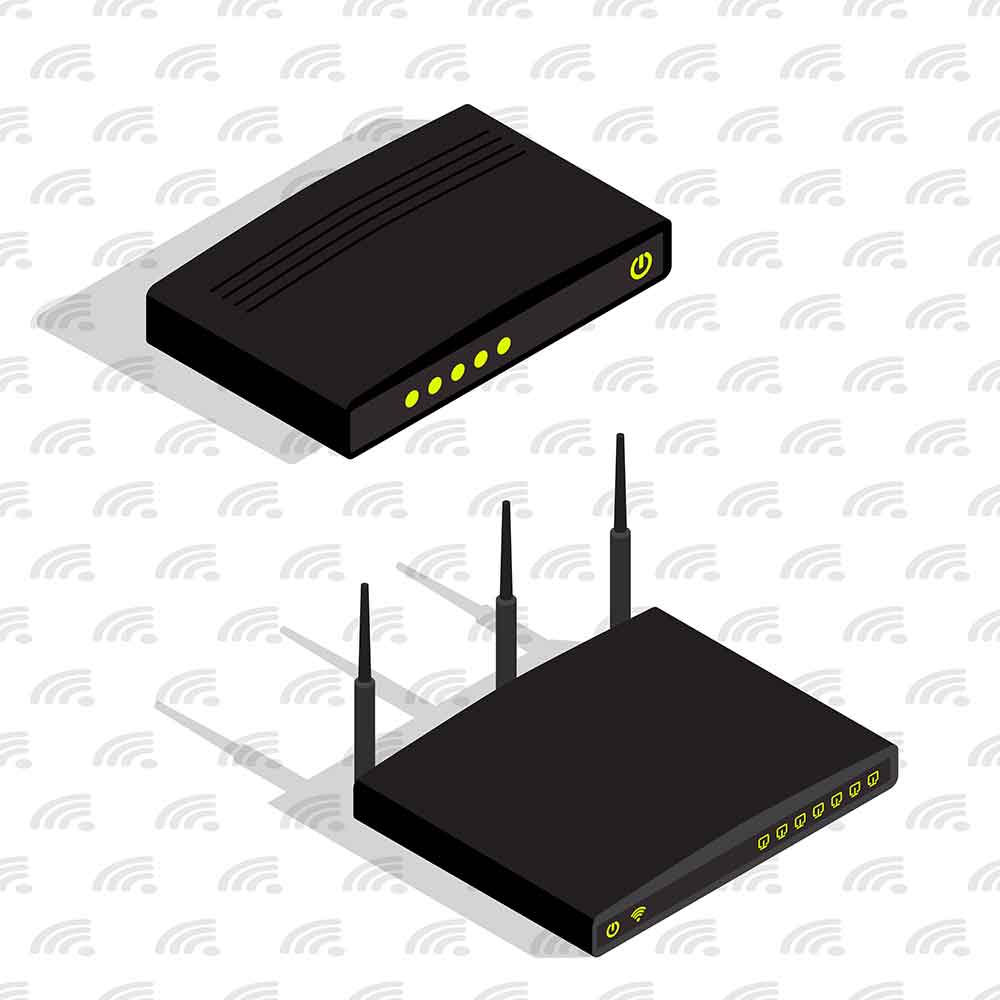
A modern black WiFi modem and a router
Network Configuration
The Viasat network system needs some configuration for you to get started.
The installer will help with the configuration of the gateway modem and the computer to connect to the modem.
However, the installer is not supposed to configure customer-provided routers or multiple computers.
Test for Speed
The last step in the installation process is to test if the setup works well. Run your speed test to see how your download speed, upload speed, and latency are doing.
Ensure everything is working to your satisfaction before the installer leaves.
So, what speed should you expect? Well, Viasat advertises as low as 12 Mbps to as high as 150 Mbps, depending on the plan you choose.
However, things shake out differently in the real world. Data from several users in the US indicate an average national download speed of 25 Mbps.
This makes it almost twice as fast as Hughesnet but lower than the average speed of Starlink satellite internet service. You can always check the Starlink vs Viasat comparison.
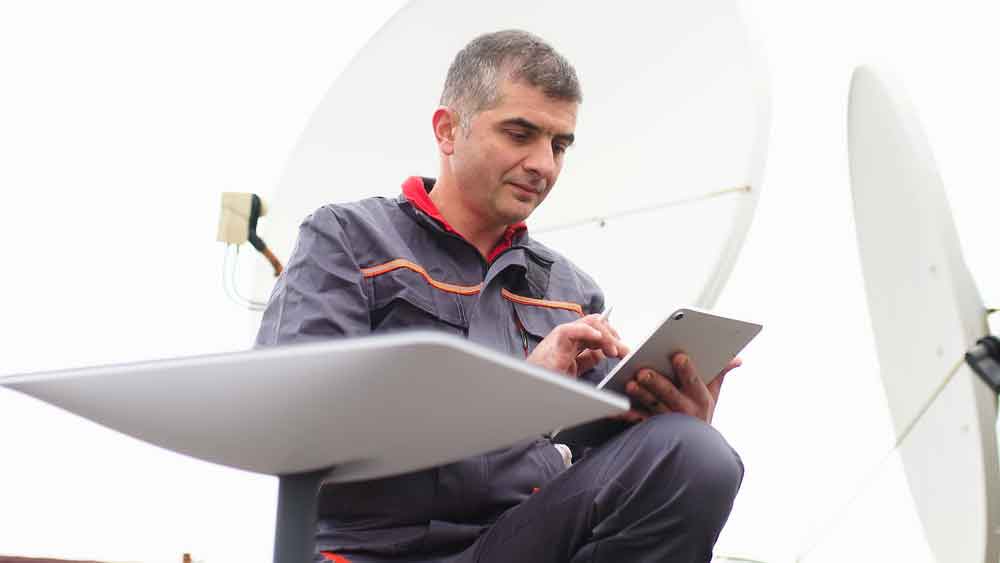
A technician checking the internet connection
The Final Thought
Viasat offers a certified professional installer to ensure their dish is properly aligned. The technician will only take 2-3 hours to have the system up and running.
The company doesn’t charge for their standard installation services. If your home doesn’t support the standard installation, the installer may recommend other mounting options that may come at a cost.
If you are not a DIY enthusiast, this is a great option to consider.