A Starlink roof mount is more useful than we think. After all, it gets the job done in terms of performance improvements.
And it makes everything better in the grand scheme of things.
However, you’ll have a lot of options at your disposal to pick, and that can seem like a lot to think about.
Furthermore, installing it isn’t as obvious as one would expect. That’s where this article comes into play!
We explored the different types and the best way to install one. So, let’s dive into it!
Why You Should Use A Roof Mount
Installing a Starlink dish mount on your roof boosts signal quality since it has more height to reach the satellites.
Thus, you won’t have to deal with a scrambled signal that causes the usability to become less enjoyable.
This accessory goes one step further by improving the field of view when facing those space-floating satellites.
In that case, trees or sky-based objects may not obstruct the signal as much compared to a ground-based mount.
Buying a roof mount is a great idea if you live in an area where floods or snow storms occur.
That’s because the added height can help protect it from water damage.
Options To Look Into

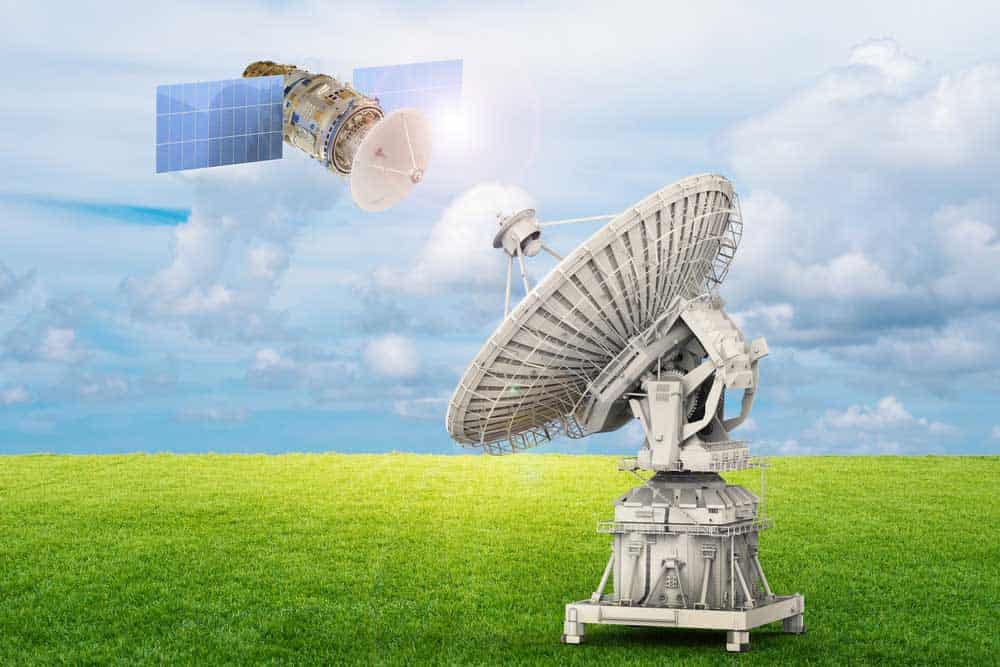
Space-based Starlink internet satellite.
There are lots of mounting options that you can use to put your dish on the roof. Each of these has different installation methods and designs.
So, take a look at the four common types offered by Starlink.
Flashing Mount
If you want something with a nice, professional look, you should pick up and install the flashing mount.
This type is placed beneath the roof shingle’s top layer, latching onto the structure. Be aware that installation requires you to cut the outline of the mount on the shingle.
You’ll also need a Starlink volcano mount to place your dish onto the flashing mount.
Plus, the flashing mount keeps water from your dish during rainy or snowy weather.
J-Mount
You can even try out the popular J-Mount option if you want something low-cost.
It requires a 1.5” pipe diameter to connect it with the Starlink dish.
Remember that you’ll need to modify it a bit to make it fit the Starlink mounting tube.
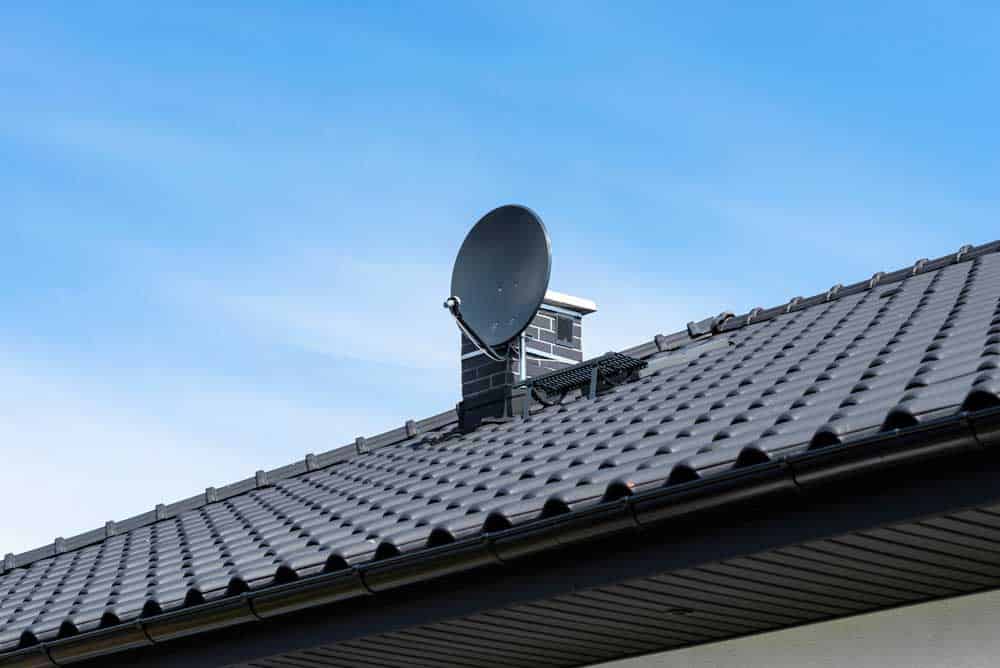
Chimney Mount
The chimney mount works wonders for the extra height you may need on the roof. Generally, you just need to attach the mount to the chimney and add your Starlink dish.
It’s important to note that you’ll also need a 2” (Outside Diameter) mast. A chimney mount is beneficial if you have a shingleless roof.
Buying a Starlink Pipe Adapter will make the installation even easier for you. This allows your Starlink Dish to adapt to any 2.5” OD mast.
Ridgeline Mount
Many folks don’t want to penetrate their roof when installing a dish mount. And that’s completely understandable! With the ridgeline mount, homeowners like you won’t need to worry about that hassle.
Instead, this just uses weights to keep everything secure on your roof. It goes on all sorts of roof types, including flat or pitched.
An Installation Guide
Installing the satellite dish.
This step-by-step guide shows you how to install the Starlink Ridgeline roof mount. But first, you must ensure the sky is clear before putting up your dish.
Do An Obstruction Check
Field of view with a satellite dish.
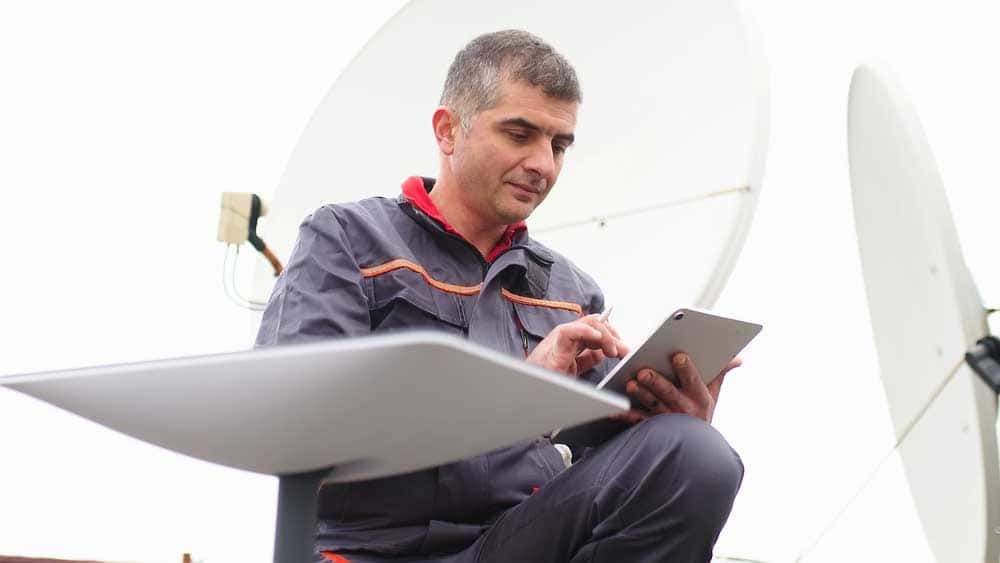
Before setting up your Starlink dish on the roof, check for obstruction.
The app comes with an Obstruction Finder feature to search for objects that could block any incoming/outgoing signal.
For this purpose, the dish must have a 100-degree field of view when facing the sky. Head outside, launch the Starlink app, and select ‘Check For Obstructions.’
All you need to do next is press the ‘I’m Ready!’ button on the screen. It will then try to find any obstructions in the sky via your phone’s camera.
Once finished, the app will show your scan results, helping you determine if the chosen location has obstructions.
What’s Inside The Ridgeline Mount Kit?
The kit comes with all the necessary tools. Sadly, the kit may not have the ballast weights. If that’s the case, you must wait a bit longer for it to arrive — up to a week.
- Four ballas weights
- A Starlink Dish carrying bag
- Wall clips
- Mount base
Follow these steps to put your mount on the roof, and ensure the sky is obstruction-free first!
Shut Off The Router

Example of a router.
First, disconnect the Starlink router cord from the power source. Doing so will shut down the dish so that you can disconnect the cable.
Bring The Mount To Your Roof
Carry the mount to wherever you want to place it on your roof. It’s best to leave it folded so you’ll have an easier time with transportation.
You can start unfolding the mount by turning the middle arm knob anticlockwise. Afterward, spread out the mount trays, placing and aligning them on each side of the roof.
Make Adjustments To The Arm
You must adjust the middle mounting arm at a five-degree angle (vertically). Simply position the arm so that it’s vertical and turn the knob rightward, which secures it.
Ballast Weight Placement
Bring all the ballast weights (four) to your ridgeline mount. One weighs thirteen pounds, so you’ll have over fifty pounds securing it.
Now, just add the weights, facing them downward from the mount’s top. Make sure each mounting tab lines up with the ballast’s notch.
Run The Starlink Cable
Now disconnect the Starlink cable from your router and dish. Run the cable from your home to the mount through the dish connector.
You can also attach the wall clips to the side of the house for a neater cable route.
Place Your Dish
Satellite dish placement.
Before carrying your Starlink dish to the roof, put it inside the carry bag. Then head up to the roof, where you placed the ridgeline mount.
Place the dish mast into the mount’s middle arm — it should fit nicely.
After installing everything, plug in all the cables inside your house. Wait two to three minutes for Starlink to start up, and use Starlink’s app to ensure it connects.
How To Buy A Roof Mount
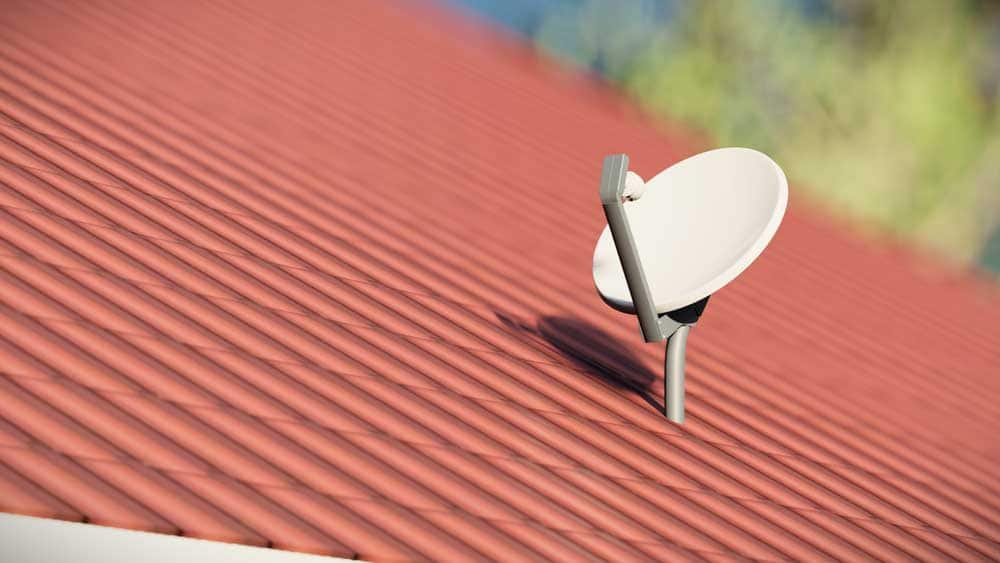
A mounted satellite dish.
You can buy a Starlink roof mount on Starlink’s website. Of course, you’ll have to be logged in under your account to order one from support.
Each one varies in price, with the Ridgeline mount costing $250, which may dent your wallet. And they can take a week or longer to arrive at your doorstep.
Additionally, you can try out other online stores like Amazon for different mounts. It has many choices for you to look at for your roof.
Summary
You should have an easy-breezy time seeing positive results with your new Starlink mount, no matter the cost.
It promises to enhance all the gimmicks offered with the service, especially signal transmission. So everything will start running smoothly with fewer hiccups while using it.