While Starlink has several mounting options, some subscribers may feel that the Starlink Ridgeline Mount is the best. This is mainly due to its flexibility and ease of installation.
You can virtually mount it on any style of roof, including flat, gable or gambrel.
Moreover, in most cases, you’re not required to perform any drilling to mount it properly. It’s a testament to Starlink’s forward-thinking.
The following guide will explore a ridgeline mount and how to install it.
What is the Starlink Ridgeline Mount
As the name suggests, Starlink designed the ridgeline mount to be placed on the main ridge of your roof.
Nevertheless, because the base is adjustable, you can configure it to almost any angle. If you have a flat roof (instead of a pitched one), you can set the mount to lie straight.
The ridgeline mount uses a non-penetrating design. As such, you don’t need any screws, nuts or bolts to secure it to your roof.
It uses a set of balance (ballast) weights to affix itself to your roof. These are similar to those that engineers implement in modern race cars.
This feature makes the mount easier to adjust and move, allowing you to get the most optimal signal from Starlink.
Moreover, it is perfect for your Starlink Roam/RV kit.
But how do you install it, and what tools will you need? We’ll cover that in the next section.
How to Install The Starlink Ridgeline Mount?
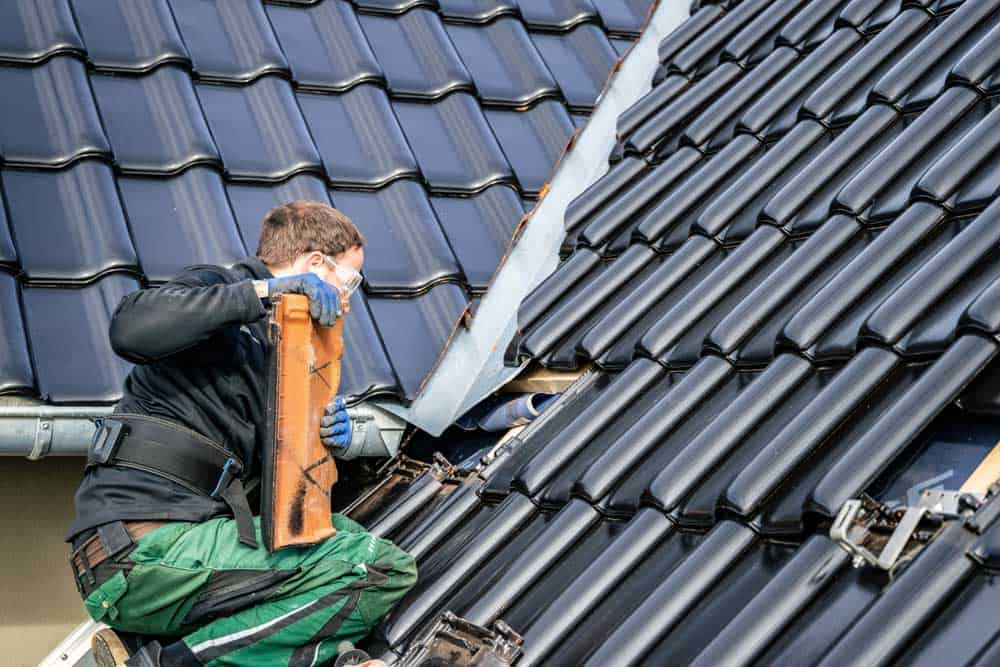
The Starlink Ridgeline features a tool-free installation. However, we do recommend wearing a pair of work or safety gloves.
You’ll also need a ladder or a way to access your roof.

Construction Worker Wearing Safety Gloves
Purchasing the Starlink Ridgeline Mount
You can purchase the official ridgeline mount from the Starlink shop. When writing this guide, it was priced at $250.
You’ll need to be logged into your Starlink account to purchase it.
While there are third-party ridgeline mount kits that use a similar design, we recommend avoiding them.
Using the official Starlink ridgeline kit will limit any installation errors and mistakes.
What’s in the Starlink Ridgeline Kit?
The Starlink Ridgeline features a carry bag, the main mounting base, wall clips, and balancing/ballas weights. Starlink ships the Ridgeline Mount folded, so it is easier to transport.
The included carry bag is meant for the satellite base, not the mount. It makes it easier to connect the base to your roof to the mount.
Starlink may ship the balancing weights separately. If you don’t find them in your kit, don’t panic. It may take up to a week for your kit’s parts to ship. The Ridgeline Kit is compatible with the Standard and High-Performance base.
Installing The Ridgeline Mount Kit
Before you proceed with the installation instructions, please ensure that you have a configured and operational Starlink installation.
First, you must decide where you’ll place your ridgeline mount. Scan the roof for a placement area free from obstructions and easy to run the base’s cable from.
#1. Disconnect Your Starlink Kit
Once you’ve decided where you place the mount and base, you can unplug the Starlink router’s AC power cord. This will also power your Starlink satellite base.
You can then disconnect the base from the router. Make sure you unplug the connection cable from the router and the base. You can keep the cable in the base mounting arm.
#2. Placing the Mount
Separate the mount from the rest of the kit. Carry the mount to the placement spot you picked earlier. Do not take the weights with you yet.
Turn the center base knob counterclockwise. You should find it under the center mounting arm.
This will loosen the mount’s side arms. Unfold the arms just enough that the trays fit snugly on your roof’s ridge.
Make sure you position the trays flush up. If your roof is flat, unfold the arms until the mount sits perfectly straight.
Next, you must align the center mounting arm, ensuring it’s pointing upwards (vertically). This is where your satellite base will connect to the mount.
Once you’ve ensured the mount is sitting correctly, turn the center knob clockwise. This will tighten the mount.
#3 Installing the Weights
It’s best to carry each balancing weight to the mount one at a time. This will make it safer and reduce the likelihood of slipping or dropping the weights.
Each block weighs just under 6 KG (13 pounds). So it would be best if you were careful with them.
You’ll also notice that all the weights have a notch. Each notch aligns to a tab on the mount’s arm trays.
You’ll need to place each weight into the mount’s trays using the notches and tabs as guides.
It would be best if you used every ballast weight that Starlink supplies to you. This will ensure that the mount is perfectly balanced.
When you’re done, about 23 KG (50 Pounds) of weight will be holding the mount down.
#4 Running The Starlink Cable
Run the cable from the roof. Ensure the router connection side faces downward, and the base connector faces upward. You can run the cable along the length of your house’s outer wall.
If you prefer to run it from the inside, you must remove some tiling and (potentially) drill a hole.
Regardless of your option, you can use the provided wall clips to secure the cable to your wall.
Craftsman removing a roof
#5. Connecting The Base to the Mount
Take the carry bag that Starlink provided you with and carefully place the satellite base. Next, cautiously transport it to the ridgeline mount.
Upon reaching the mount, run the ethernet cable through the satellite base’s mast and then connect it to the base.
Next, slide the satellite base’s mast into the shaft of the ridgeline mount’s center arm. It should snap into place with a satisfying click.
Finally, please verify that the base and its mast are perfectly vertical. You must ensure that the ridgeline mount and the satellite base are secure and sturdy.
Once you finish the previous steps, connect the other end of the satellite base ethernet cable to your router and turn it on.
We recommend running a few speed tests to check if you’ve positioned the satellite optimally.
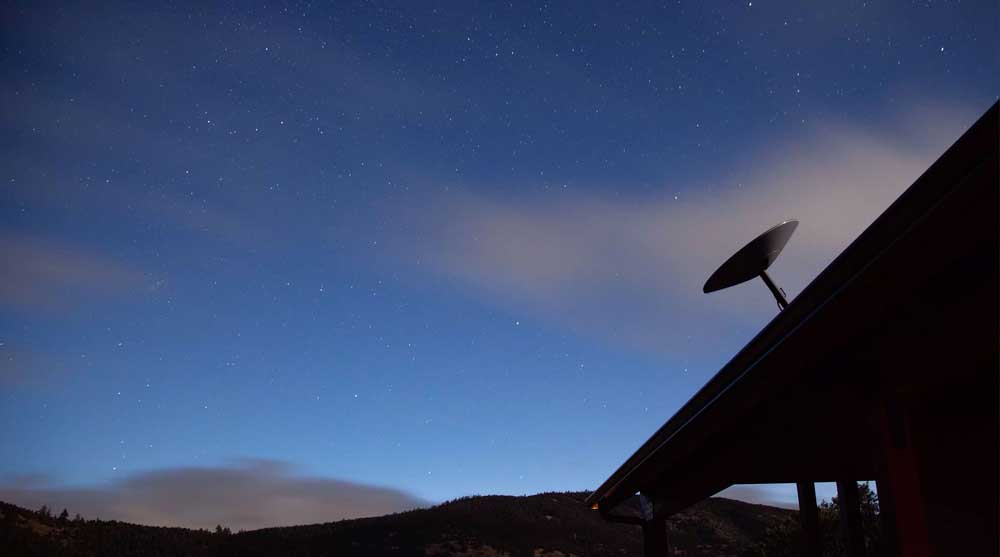
Image of Starlink Base on the Roof
Starlink Ridgeline Mount: Final Words
Remember: You can adjust and move your Starlink Ridgeline Mount if you’re not picking up optimal signals.
However, it would be best to employ the wall clips when you’re certain of the final position of the base and mount.
Once again, this is a reminder of what makes the ridgeline mount one of the best mounting options.
It is extremely versatile and flexible. With that being said, it may not be ideal for all situations.
For instance, it may not be sturdy enough to handle strong winds. As such, you may find a pivot mount to be far more suitable for these circumstances.