SpaceX designed its residential kit in such a way that customers can perform their own Starlink installation.
While you can also hire a certified technician, this can cost you as much as $99 (or more).
Thus, you can save time (and possibly money) by installing and configuring it yourself.
So you’ve finally made it out of the purgatory of Starlink’s waiting list and received your kit. What should you do next?
It would be best if, yRegardless of your technical skill level, you always considered consulting a manual or guide.
The following text will show you how to install and configure the Starlink residential kit yourself.
How to Install and Configure Your Starlink Kit
It would be best if you addressed a few prerequisites and considerations before setting up your Starlink hardware.
Prerequisites and Considerations
There are a few prerequisites and conditions to consider. These include the location where your base (antenna) will eventually sit, tools and accessories to use, and how you’ll access the Starlink application. This section will cover these topics.
Downloading The Starlink Application
There are two ways to access Starlink’s app. You can use the online portal, the local router address (through a web browser), or the mobile application.
We recommend the latter as it’s more flexible and easier to use. Nevertheless, Android users can download the app from Google’s Play Store.
Likewise, Apple users can download the iOS version from the Apple App Store.
This step isn’t optional. You’ll need to use the app to activate your subscription, configure your hardware and troubleshoot any issues that may arise during the installation.
Please note: Starlink must be installed and connected before you can access the local router address.
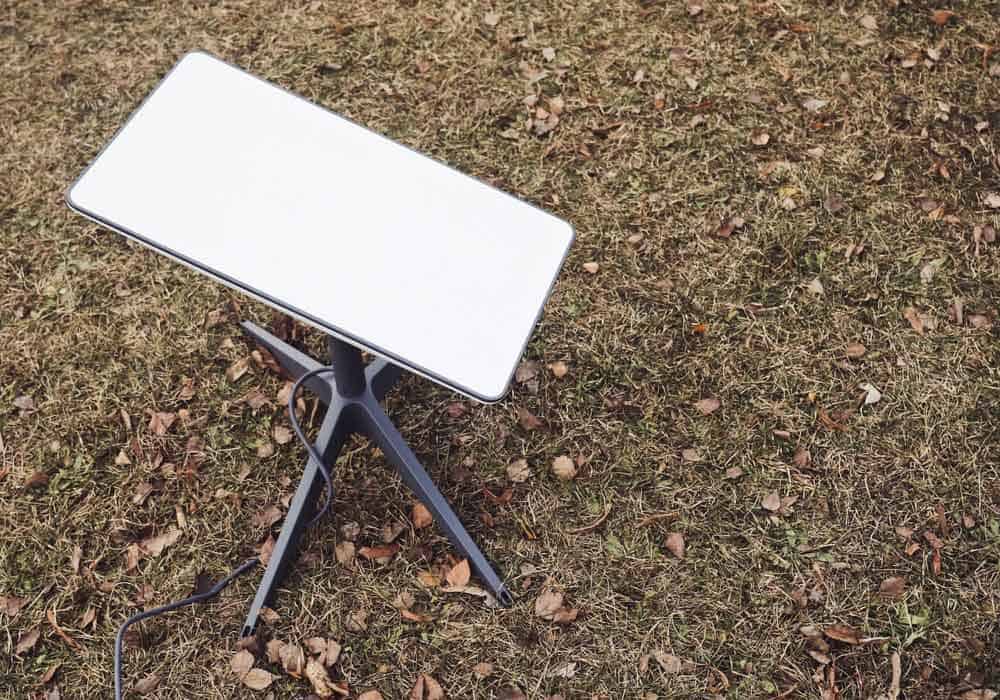
Starlink antenna sitting on the ground
Identify Where Your Starlink Antenna Will Sit
The Starlink Antenna is essentially a modernized dish/antenna. Thus, it still shares many of conventional satellite dishes’ weaknesses.
When identifying which location the antenna will sit, you must ensure that no obstructions will interfere with the signals it receives.
Obstructions can come from foliage, trees, buildings, and other artificial structures.
It’s also important to note the weather when identifying which area to place your Starlink antenna.
Despite its use of LEO satellites, Starlink is susceptible to bad weather – as is most satellite-powered technology.
As such, it’s best to assemble, install, and configure your kit on a day that is as clear as possible. The Starlink antenna and base require a 100-degree (at least) field of vision.
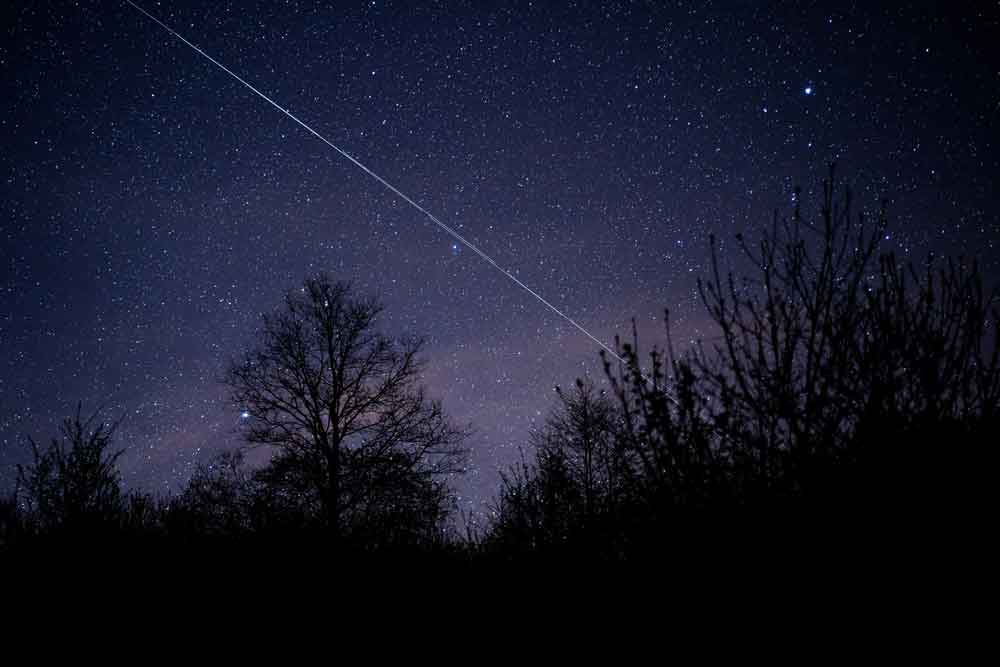
Starlink Constellation on a clear night sky
Checking for Obstructions
You can use the Starlink application to identify obstructions and mark potential areas to place the antenna. You can do this with the following steps:
- Go outside.
- Launch the Starlink App on your phone and ensure the home page is selected.
- Tap on the button/text labeled FIND AND INSTALL LOCATION. In older versions, the button/text will be labeled CHECK FOR OBSTRUCTIONS and located near the bottom of the screen.
- This will launch the obstructions feature. Select your Starlink hardware from the menu.
- Place your mobile device where you plan to mount your Starlink antenna base. It should be at the same placement and height to ensure the reading is as accurate as possible.
Other Placement Considerations
Later, after you’ve assembled and placed the Starlink antenna and base, you’ll notice that it has a slight lean.
For instance, if you live in North America (or any other country in the Northern Hemisphere), it will have a slight tilt to the North.
You don’t have to place your antenna on the ground. You may get better performance by mounting your Starlink antenna on your roof.
Depending on the size and shape of your roof, you’ll need a mount to do this properly.
It would be best if you also considered how you’ll route Starlink’s data cable when picking a location.
The Starlink cable is 50 feet long, so the router can’t be located too far from it. You can purchase a longer data cable (150ft) from Starlink’s online shop if needed.
Getting The Necessary Tools for The Installation
If you’re performing a simple on-the-ground installation, you will need the following tools:
- Hammer
- Pliers
- Screwdrivers (Star, Flat, etc.) A torque screwdriver with a diverse collection of bits would be best
- Rust-proof clips for the data cable
You’ll need a few additional tools if you plan to mount your Starlink base on the roof. However, these will be dependent on the type of mount you use.
You can also add other cable management tools and accessories, such as ties and cable covers:
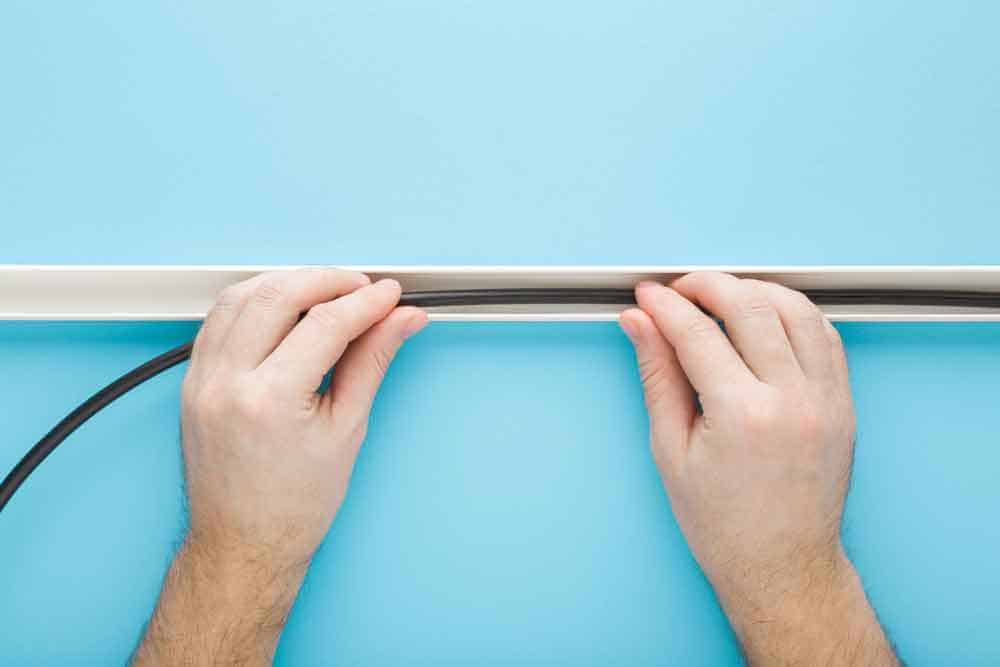
Hands placing cable into cover
Verify the Components of Your Starlink Kit
Before you move forward with the installation, you must ensure that SpaceX has included all the necessary components for your kit. Your kit should have the following components:
- The Starlink Antenna
- Starlink mounting base
- Router
- 15.2 m (50 ft) Data Cable
- Router power cord
If your kit does not contain all these components, you may need to contact Starlink and return it.
Assembling The Starlink Antenna
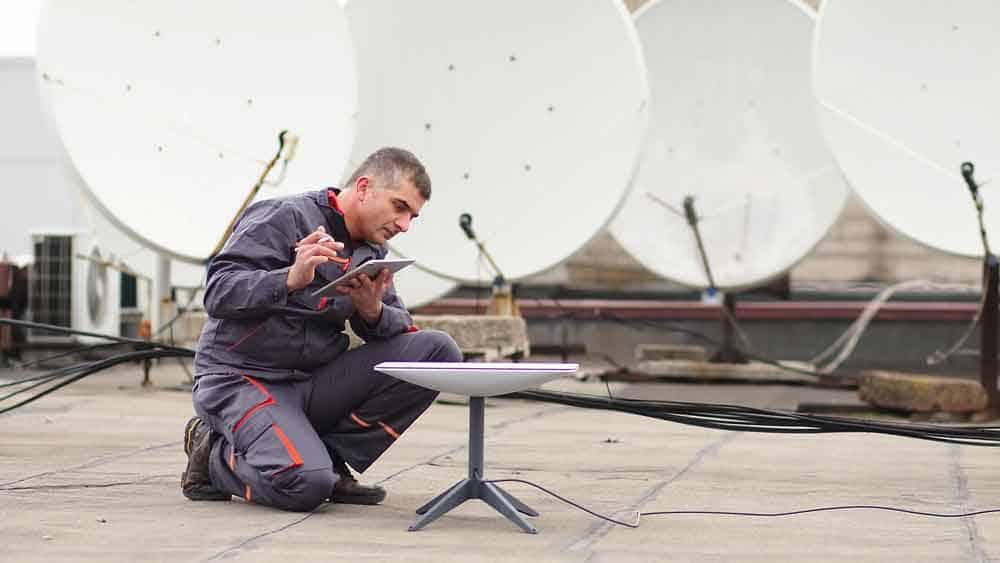
Man installing the Starlink Antenna
Now that you’ve covered all the prerequisites and other considerations, you proceed with the Starlink installation.
Your first step will be to assemble the Starlink antenna cause it’s arguably the trickiest part.
Starlink’s antenna comes permanently connected to its mast. It’s self-positioning but needs a power source to run its motors.
Starlink’s data cable works as a power source and a data transport.
As such, you need to connect the data cable:
- You’ll notice that the front of the Starlink antenna is rectangular. Carefully place it face-down on a straight surface. It’s best to place it on a covered tabletop.
- Starlink’s 50-ft data cable has two connectors. One is right-angled, while the other is straight. The straight connector goes into the Starlink antenna, while the angled connector plugs into the router. The Starlink Antenna’s connection point is near the mast’s bottom. Plug the data cable into the antenna.
Once that’s done, you can connect and lock the antenna’s mast into the provided base. Make sure you use the tabs on the mount and mast as connection guides.
Connecting the Router
First, you need to route the cable into your house or living area. You should avoid burying the cable in soil. Unfortunately, SpaceX did manufacture it for that type of installation.
However, you can use a ground cable protector and other covers or conduits before burying the data cable:
Once you’ve run your data cable into your house, you can connect it to the router. There are two main ports on the current version of the Starlink router; the data cable and power cord connection points.
You can access them by laying the router down since the ports are located underneath. Connect the angled data cable to the corresponding port on the router. Then, connect the power cord to it.
Once you’ve completed the above steps, you can raise the router. The router will take a few moments to automatically power up once you’ve plugged it into your home’s power socket.
Starlink Installation: Final Word
Now that you’ve completed your Starlink installation, you can run the application on your mobile device to configure it further.
It will allow you to test the speed of your connection and identify the visibility between your antenna and the Starlink satellite constellation.
It also gives you a few relevant statistics and also enables you to access more advanced configurations through its Settings menu.
If you find that your Starlink internet connection is suboptimal, you can always adjust the dish.
One of Starlink’s greatest strengths is that it encourages a DIY culture through its standard kit’s design. The above guide covers how simple installing Starlink can be for you.