As a prospective Starlink internet customer, you may have wondered how you can adjust your Starlink dish.
Contrary to the beliefs held by many, adjusting Starlink dishes is not an arduous task. In fact, you can easily adjust the dish on your own without the help of a professional.
Adjusting your Starlink dish is the easiest and cheapest way to increase its optimal signal performance.
In this inside blog, you will learn invaluable tips on getting around this task seamlessly.
We will also enlighten you on the best mounting option recommended by Starlink experts.
The Significance of Starlink Satellite Location
Starlink satellite locations play a major role in the strength of your network. The satellites are located in low Earth orbit at only 550 km from the surface of the Earth.
This positioning, together with the numerous constellations of the satellite, makes adjusting your dish easier.
When adjusting your dish, you can easily find a close satellite to connect to.
This is a different scenario from some of its competitors, such as Hughesnet, that rely on a single geostationary orbiting the Earth at more than 35,000 km from the surface.
It can be hard to adjust such services to improve your network strength.
Where to Mount Your Starlink Dish
Starlink dishes work more or less the same as TV dishes. As you may know, you have to place your TV dish pointing in a certain direction for proper coverage.
The same applies to Starlink dishes, which have to be in a direction that offers a clear view of the sky.
As a general rule of thumb, mount your Starlink dish at the highest position of your home, where it is clear of obstructions.
This can be at your rooftop, chimney, or a long pole/ tripod away from the buildings and trees. It all depends on the type of obstruction besieging your home.
The best part, the company has made it easier for you to choose the right location for your dish by offering you an app.
Available for iOS and Android, this handy app is accurate and easy to use.
The app is not only for scanning for obstructions but also helps in customizing settings, viewing real-time performance data such as speed, accessing support, and receiving updates.
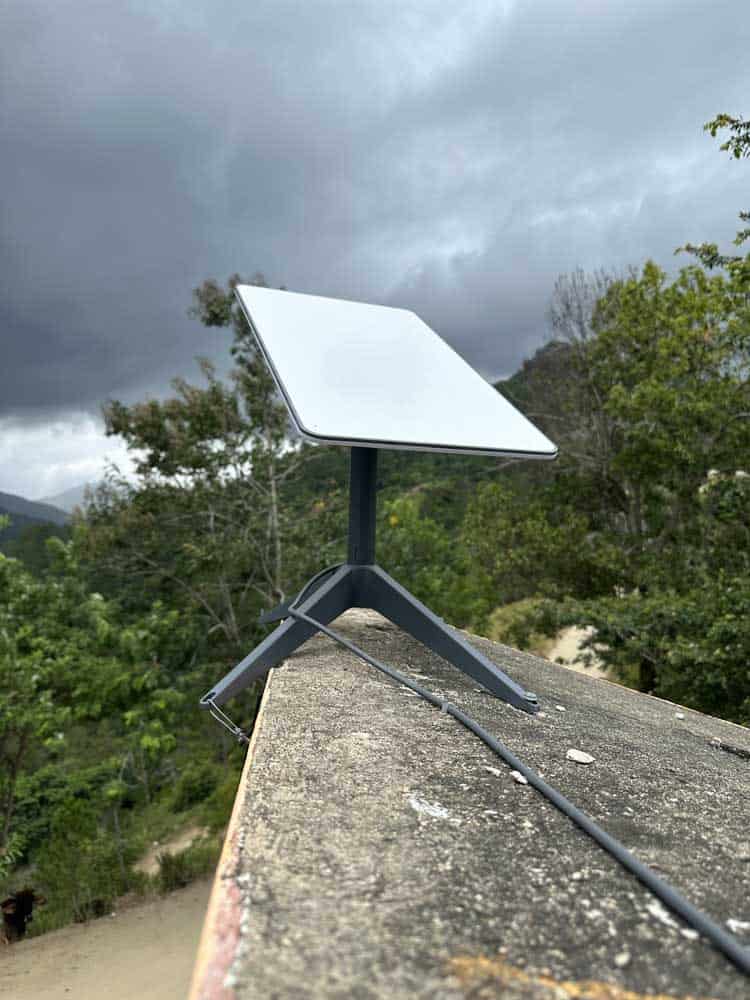
Starlink satellite dish installed on the top of the roof.
Starlink Dish Direction
The Starlink mounting position is not an end in itself. Closely intertwined with the mounting position is the dish pointing direction.
You may mount your dish at the highest point possible, away from any obstruction. However, if it doesn’t point in the right direction, you may not receive the best internet service.
So, what direction do dish network satellites face?
The direction to which your Starlink dish should point depends on the hemisphere of the part of the world you are living in.
If you are living in the Northern Hemisphere, you should point your dish to the North. The angle of your dish should be nearly vertical to offer a wide field of view.
Figuring out where your dish should point is not always easy. Again, the Starlink app is very handy in this scenario.
You can use the same obstruction tool in the app to get the right direction for your dish.
The app will show you which direction of the sky will offer you an optimal signal and help you align the dish toward the direction.
The good thing with the Starlink dish is that you can adjust the orientation without reinstalling it.
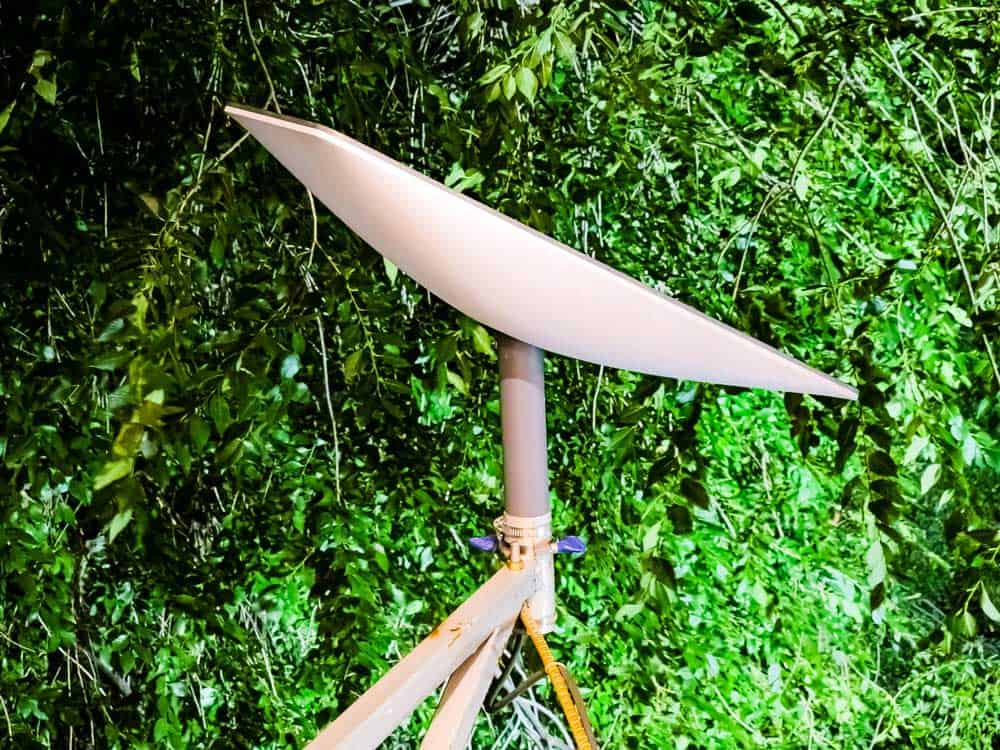
Starlink flat vector on a raised position
What is the Starlink Dish Required Field of View?
It is essential to say the role the Starlink field of view plays in the quality of the internet you receive.
In light of this, it is imperative that you understand the right field of view for your satellite dish to receive the most optimal internet service.
Starlink needs a 100-degree cone of unobstructed view of the sky.
However, we expect this value to drop, considering the increasing installation of Starlink satellites by SpaceX.
The company targets up to 42,000 satellites in low orbit for global coverage and steady network service.
Once this is achieved, you will not have to worry about a high as 100-degree field of view.
You can figure out whether you have the 100-degree required field of view using the Starlink app.
However, it is not the most accurate, too, for this. Experts suggest using a protractor.
All you need to do is take a picture of your preferred site from its highest point and use the protractor to check the dimension and angle.
How to Move Starlink Dish
As hinted before, you don’t have to dismantle the whole setup and reinstall it when adjusting the dish.
The best part, even aligning the dish manually should be none of your worries. In fact, you should desist from trying to manually move your dish.
You may damage the internal motors or break the plastic gears.
The antenna is motorized and self-aligned. However, Starlink doesn’t just move immediately; the app determines the best view of the sky.
The antenna uses an electronic beam to attract the satellites as they move. That way, it will move based on the future satellite alignment.
Other changes, such as buildings erected or trees growing to block the view, will also make the dish realign.
This, therefore, implies that you will never have a manual tilt or adjust your Starlink dish to align to the satellites. Your part is to ensure you install the dish in such a way that it can tilt or move freely by itself when necessary.
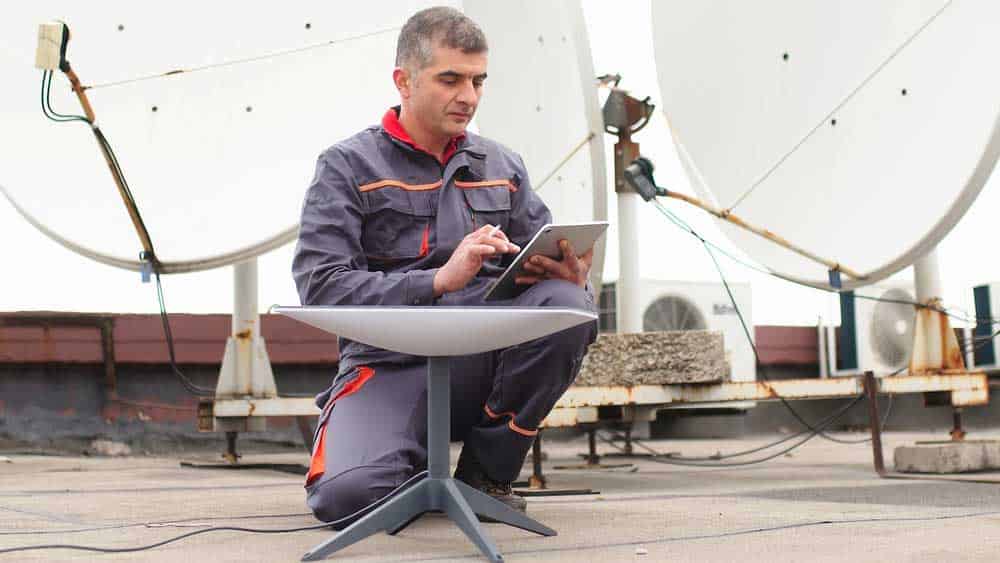
A man installing a Starlink satellite dish
Closing Remarks
As a Starlink owner, the signal strength of the system is solely in your hands. You must be up-to-date on factors such as the required field of view and Starlink position during installation.
You don’t have to be a proficient technician to figure out where to locate your dish or align it. The Starlink app can help you in such situations.
In the feature, it will automatically adjust when the dish begins to lose its field of view.
It has internal electronic motors that help it move, so you do not need to worry about how to tilt the Starlink dish.