How to Transfer Starlink to New Owner? If you are planning to stop with the services of Starlink for whatever reason, the most important question you may ask is how to transfer Starlink to a new owner.
This wasn’t possible until February 2023, when the company enabled self-service transfers.
You initiate the process by contacting the company’s customer care to seek approval of the transfer.
Once you get the node, ensure your account doesn’t have any outstanding bills, cancel the service and confirm the transfer.
We offer a detailed guide on how to cancel the service, plus all the requirements for the transfer process.
How to Transfer Ownership Right
This article will mostly focus on transferring ownership. So if you are the receiver, you can browse our website for a buying guide.
Contact the Customer Support
You can only initiate the transfer with the company’s approval. Contacting the company customer support team should, therefore, be the first step.
The Starlink dish network transfer service is subject to some terms and conditions set by the company.
Once you inform the company about your plan to transfer the services, they will let you know about the conditions.
They will then ask you some details about the new owner, including the name, contact, email and any other relevant information.
Just ensure the information offered to them is accurate and up to date so that you avoid any complications during the transfer.
After providing the information required, the next move may include signing a transfer agreement or contract.
The document outlines the terms and conditions of the transfer. Please review it carefully and ensure you understand all the implications of the transfer.
Get the Starlink Identifiers Information
There is information that you will provide to the new owner, including Device ID/ Kit Serial Number, and Terminal ID.
You will need to collect this information and record them for reference when needed.
You can use either of these two numbers to activate the dish. However, you should provide both.
Tell the new owner how to activate a new or existing Starlink account.
Show them how they will sign up for the service on the company website and the checkout process they must go through.
You can get the Kit Serial Number on the Starlink Kit shipping label. If the kit label is no longer visible, you can still get it through your account portal.
On the account portal, click “Manage,” under the device you wish to transfer, you will see a number that looks like KIT300900871.
For the Terminal ID, you will get it through the app. Open the app, then tap “Advance” at the bottom.
Under the Starlink section, you will see the ID number starting with “ut” and then something like 01000000-000000000-00c65bb.
The “ut” is not important, so just record the number.
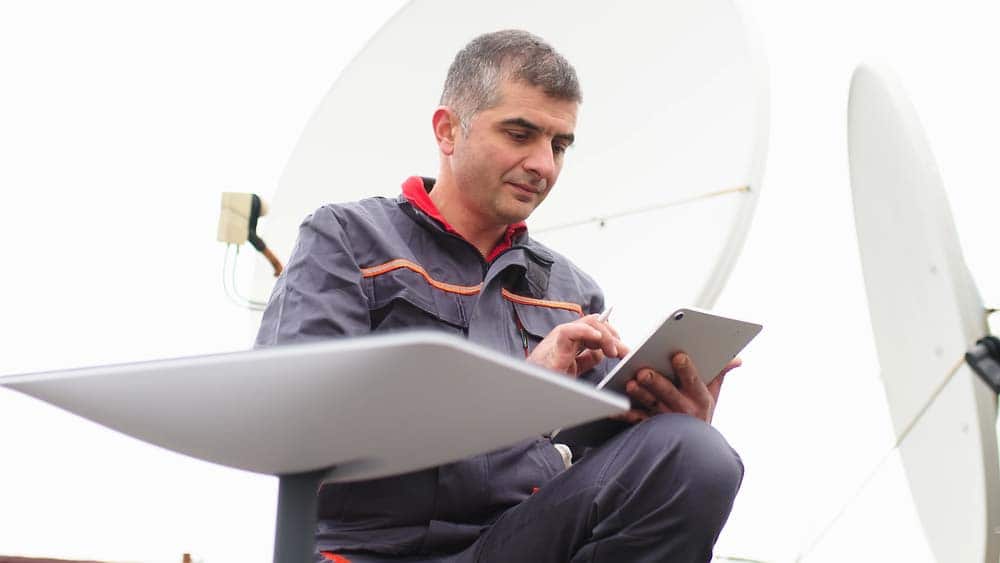
A man activating the dish
Cancel Your Service
Cancel your service to complete the transfer process. To begin with, ensure your account has no outstanding bills. You want the new buyer to refrain from contending with your bills.
To cancel your service, go to your account portal and select “Manage” on the hardware you wish to transfer, then click “Transfer” to move the ownership right to the buyer.
Terms and conditions of the transfer will appear on a new window. Accept by clicking on “Confirm”.
Once you confirm, there is no going back. The hardware will be removed from your account permanently.
Immediately, the service will stop, and the remaining days in your billing cycle will disappear. If you don’t pay it in full, it gets transferred to the new owner.
Your email ID also becomes invalid with immediate effect. The company will start using the new owner’s email you offered to communicate.
Remember to factory reset the Starlink router to its original settings. Simply unplug and replug the power code six times in a row.
Get the Hardware Ready for Shipping
Once the paperwork involved in the transfer is complete, the next step is physically transferring the hardware to the new owner.
Depending on the buyer’s location, you may have to arrange for transportation or meet the person physically.
Ensure the hardware is in good working condition and the kit has all the components.
The kit should have the dish, router, mount, Starlink cable and router power code.
If the original box you received during the purchase is available and in proper condition, you can pack the required hardware.
If you can’t get the original box, ensure the alternative package is safe for transportation.
How Long Does it Take to Completely Transfer Your Starlink Account?
According to Starlink, once you complete the steps mentioned above, the transfer takes effect immediately.
Therefore, how fast the transfer will get complete depends on you and the buyer.
However, upon the activation of the transfer, the billing cycle starts, and it’s the new recipient who will incur the cost.
Therefore, the recipient would want the handover done as fast as possible.
Can I Stop Starlink Account Transfer?
Before you transfer the ownership of your Starlink to a new person, take time and make up your mind.
You cannot reverse the process once you approve the transfer.
There is no possibility to use the hardware again once you confirm the ownership transfer.
Should the new owner get cold feet, the only alternative is to sell it to another person.
Always communicate with the buyer to know his stand before you initiate the transfer.
Let the buyer know the exact condition of your hardware and all the necessary requirements to avoid last-minute disappointments.
FAQ
Can I Transfer Starlink Ownership To A Different Country?
Transferring Starlink ownership to a different country depends on a specific country’s regulations.
The hardware is geo-blocked in some countries and may not activate a new service when used in another country.
To be safe, it is a good idea to transfer ownership right within the same country.
Can You Transfer Ownership of Starlink RV/Roam?
Yes, the dish transfer service applies to your Starlink RV hardware like you would with the Residential.
The RV and Residential hardware are identical and have similar activation processes.
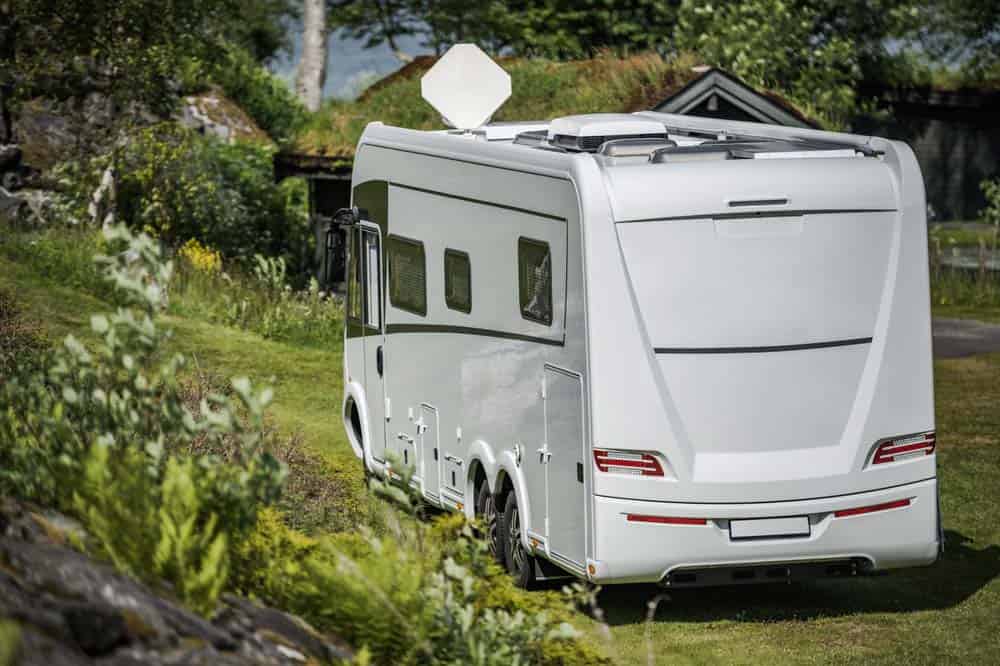
Camper Van with satellite dish on the roof
Does Warranty Renew With Starlink Ownership Transfer?
Starlink warranty (12 months for standard hardware) starts from the date of original purchase and doesn’t renew when you transfer ownership to someone.
However, the remaining warranty time transfers over with the equipment to the buyer.
Wrapping it Up
The fact that you can transfer Starlink ownership rights to another person makes it a worthwhile investment.
You can recover some of the money you invested in the hardware if you decide to stop with the services of Starlink.
The new standard Starlink kit currently costs $599, and you can sell a used one at $250 – $500.