Starlink obstruction is simply any object that blocks the satellite signal causing intermittent outages and dropped packets.
Obstruction is a very common challenge to many Starlink users, with trees and buildings leading the way.
You need to install a Starlink dish such that 100 degrees of its field of view of the sky is completely free from obstructions.
Starlink satellites are in constant motion, and this explains why you will need such a wider field of view to stay connected to satellites.
Just ensure you choose a mounting method that places the dish high enough above every obstacle.
We are going to walk you through some best practices to deal with obstruction when installing Starlink.
How to Scan Sky for Starlink
SpaceX designed Starlink for DIY installation, so you will have to locate an unobstructed site to install the dish by yourself.
Thankfully, the company offers a handy app with an obstruction tool that you can use to scan the sky for your Starlink dish.
The app is available for free download on the Google Play store for Android and iOS.
Download the app and use it to find an unobstructed install location.
In addition to using it to find the ideal install location for your dish, the Starlink app will also help you browse the shop, manage your account, and test your connections.
How to Use Starlink App for Obstruction
Once you download the app, open it. On the home page, search for a button that says, “CHECK FOR OBSTRUCTION.” click on it to open the obstruction tool.
Follow the on-screen instructions to scan the sky for obstructions in your area. Ideally, the tool scans for potential issues with a phone camera.
Once you turn it on, the phone camera will go on automatically.
Select your Starlink hardware to ensure your app is scanning the sky for the right field of view.
While moving the phone around as you scan, ensure it is at the exact location and height you are planning to mount the dish.
Tilt the phone up until you see a clear field of view of the sky every time. This indicates where you should install the dish.
Anything that shows up in the clear area is an obstruction and should be avoided. However, not all obstructions have the same impact.
The percentage of obstruction can be so small that the dish can work fine without much interference.
Thankfully, the app can calculate and show you the percentage of the field of view you should expect in your location. We will show you how to interpret the percentages later.
You can also use the Starlink app to know the obstruction in relation to the dish after installation.
Simply power the dish on and let it run for 12 hours for the app to collect data about obstruction. Open the app, and you will see a mapping of the obstruction in relation to the dish.
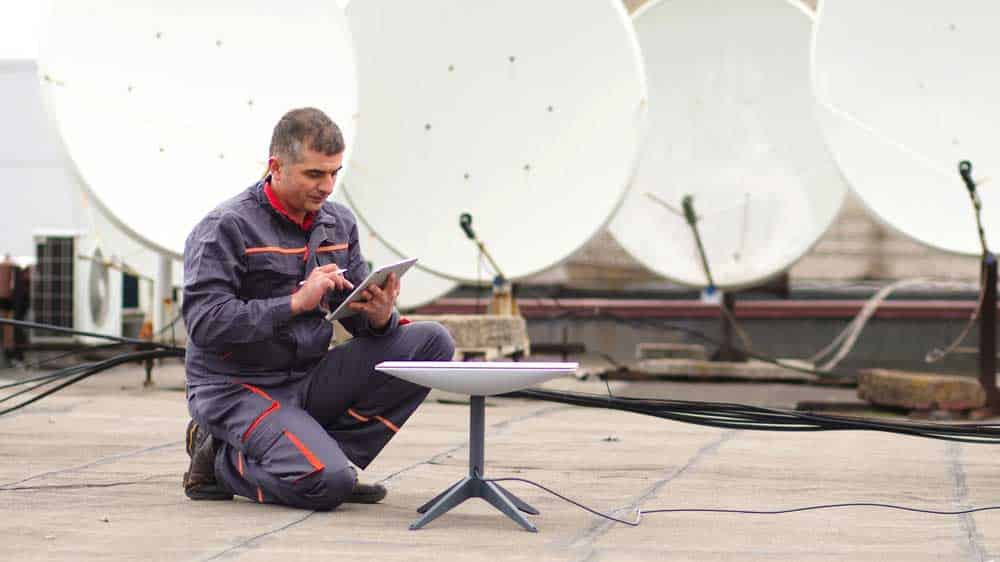
A man installing Starlink dish using an app
How Much Obstruction is Too Much for Starlink?
The readout in terms of percentage can help you figure out how much interruption the obstruction is likely to cause.
This will help you know what to expect in your area as far as signal reception is concerned. Here is the interpretation of certain percentages:
| Obstruction Percentages | Interpretation |
| 0% | No obstruction |
| 1-5% | Few obstructions but enough to cause some sort of periodic outages and cause issues with video calls and gaming. However, most internet activities can just work fine. |
| 6-10% | Any percentage beyond 5% can lead to frequent outages that can last several seconds. With this extent of obstruction, even TV streaming will start to buffer. |
| 11% and above | When the obstruction gets beyond 10% the interruptions become more serious. In addition to streaming, gaming, and video calls, even downloading a web page will be slow. |

Family enjoying live streaming.
How to Mount Your Dish to Avoid Obstructions
Starlink dishes are very sensitive and require an unobstructed field of view of the sky.
As a general rule of thumb, aim at mounting the dish away or high enough above any possible obstruction.
That said, each home is different, so the mounting method may vary. The most commonly used mounting surface in homes not covered with tall trees or buildings is the roof.
You can install the dish near the roof’s peak or at the eave/fascia.
There are several roof mount solutions available in the market. You can get some of them directly from Starlink shops or aftermarket options.
The most commonly used solution is J-mount due to its wide availability, affordability, and versatility.
Other Starlink mounting options for the roof include the flashing mount and non-penetrating mount.
We can use these two solutions along with an aftermarket J-mount to extend the height of the dish on the roof.
However, the flashing mount is often paired with the pivot mount.
They are both available on Starlink shops, but you only need an official flashing mount from the company if you plan to pair it with an official pivot mount.
If your roof is not high enough, you can use some of these solutions on elevated surfaces such as chimneys, towers, and poles.
Starlink offers a separate extension cable (150 ft) in case the 75 ft that comes with the kit may not be enough for your mounting method.
Those who live in areas free of obstruction can even get away with mounting their Starlink on the exterior wall of their homes.
Starlink offers two wall mounts, including a short wall mount and a long wall mount. The choice may depend on how much clearance from the roof you require.
If you need additional clearance that none of these wall mount options can achieve, you can use J-mount on your exterior wall.
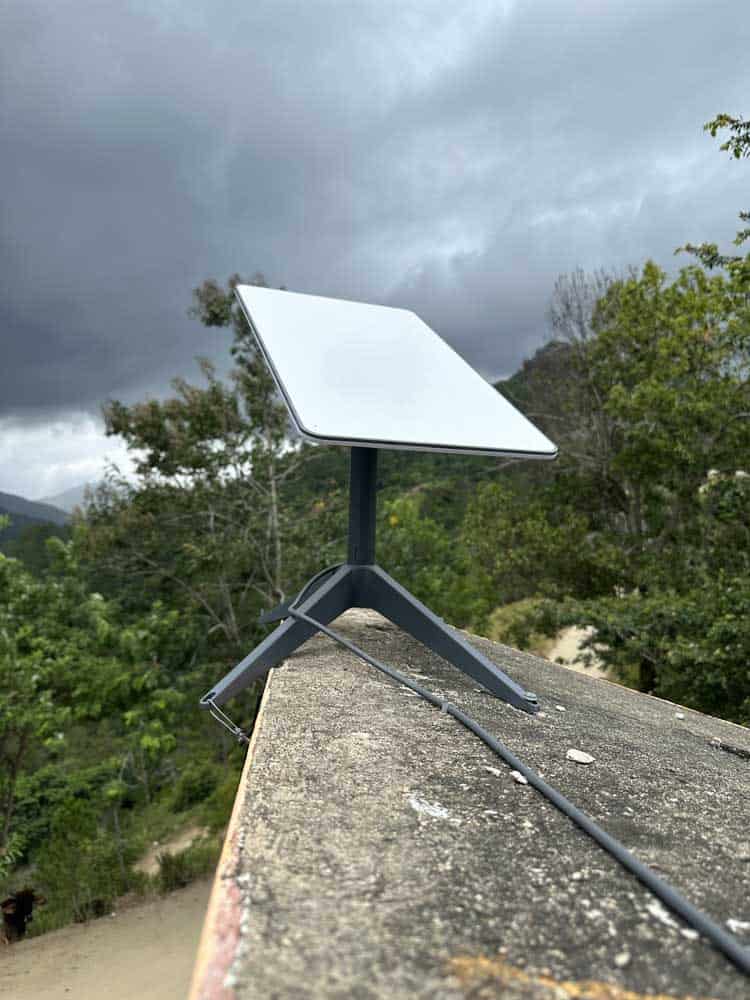
Starlink dish on a raised surface
Solution for RV Users
If your camp spot is heavily wooded, you are likely to experience regular internet interruptions.
You can use a non-permanent installation so that you will be able to move your dish around in search of the signal.
An adjustable pole can also be a nice feature to extend the height if you mount Starlink on your rig or want to move the dish away from trees.
Consider purchasing the extension cable from the company if the normal one won’t be enough.
The Final Thought
Starlink aims at offering reliable internet coverage, but obstruction can prevent you from enjoying this.
You need to set the dish away from obstruction as much as possible. With the aid of the Starlink app, you can scan and find the ideal location for the dish.
Starlink searches for the signal from the satellites which are in constant motion, so you need at least a 100-degree field of view.
With our comprehensive guide, you are sure to set up the system for maximum signal reception.