The secret of getting the maximum signal out of your Starlink WiFi lies in how best you can explore the Starlink mounting options.
While it is true that Starlink routers may cover a specific maximum range, you may need more signal strength in some areas of your home due to poor mounting.
Obstructions such as walls and trees are likely to impede your signal strength. Logic has it that you should mount your dish away from the obstacles.
This article delves into the most viable Starlink mounting options you can employ to optimize your signal strength.
Evaluating the Mounting Options for Your Starlink Dish
While your Starlink kit will come with the dish mount, you may need more than the company offers to serve your purpose.
You will often need to look for additional mounting options to get the maximum out of your Starlink network package.
But even before mounting your Starlink dish, make sure you pick the right location for your dish. That will help you determine the right type of mount you need.
Let’s explore some of the mounting options you can have.
J-Mount
J-mount is the most popular and commonly used Starlink mounting option. It is particularly famous for its versatility, affordability, and ease of availability.
For a Starlink dish, look for a J-mount with a pipe 1.5 inches in diameter. Depending on which type you buy, this mount requires some adjustment.
That said, J-mount is the most flexible mounting option, and you can use it on different surfaces. These include exterior walls, roof, and eave/fascia.
On the downside, the J-munt does not reach a higher height, only 2-4 feet. You may consider other options if you need a higher score than this.
Flashing mount
Flashing mount enables you to mount your dish on the roof. Many people like it for its ease of installation and aesthetic look.
You will not use the flashing mount alone during the installation. You may need either an aftermarket J-mount or a Tripod mount. These two mounting options will help secure the dish to the flashing mount.
A flashing mount is available in Starlink shops. However, you can also get aftermarket options like the CommDeck mounting system.
That said, this is the most effective way to firmly install a dish mount on a roof with shingles without creating leaks. For roofs without shingles, this is not a great option.
Non-Penetrating Roof Mount
If you don’t want to drill your roof but want to install the dish permanently, a non-penetrating roof (ridgeline) mount is the best option.
Though a flash mount doesn’t cause leakages on your roof, it involves drilling the roof, which may make it a bit time-consuming.
As the name implies, you install it on the roof’s ridge line. Instead of fastening a non-penetrating mount to your roof, you use concrete, sandbags, etc, to hold it down.
Starlink has an official ridge mount that they offer with weights. However, you can find the aftermarket options as well.
Because it doesn’t come with a mast, you will need other mounting options, such as J-mount or pole mount, to attach to it for your dish.
On the downside, this mount looks large. Plus, the weight you will use to hold it down can look huge and ugly on your roof. In addition, wind can blow it away depending on the weight you have used.
Tripod Mount
Sometimes, you may need to install your Starlink dish on a flat surface, but raise it above every obstacle; consider using a tripod mount. You can temporarily install it on the ground or permanently secure it on a flat roof.
The tripod mount has a mast that can fit well with the Starlink dish mast but with few modifications. You can also get a mast of your choice, but the diameter should accept that of Starlink.
Because of its size, a tripod mount can take up some space. There is also the risk of it tipping over when the wind is strong.
A tripod is isolated on a white background.
Tower Mount
Tower mount will help you raise your Starlink dish away from an obstruction in a situation where the roof mounting can’t work.
It will help you get the vertical height you need for a better signal reception.
However, installing a tower mount in your home can be costly and complex. It will require more hardware than any other method here.
Pole Mount
This is another great option if you don’t want to mount your dish in your house or you simply want to install the dish in an open place.
Say you have an open area within your yard.
You can get Starlink poles from their shop or purchase aftermarket poles. Ensure the one you get is around 1.5″ or 2″ in diameter.
You will need a U-bolt and Starlink pipe adapter to secure Starlink in place. You will need a pipe adapter that can use up to 2.5″ pole in diameter.
On the downside, pole mount may need more work that other mounting options do not require.
For instance, you must bury the cable or find an ideal way to route it to your house. Besides, it is not applicable in areas with a lot of trees.
Chimney Mount
If you don’t have a shingle roof, your roof structure can’t allow for traditional installation, or your roof can’t offer a clear field of view, a chimney mount can be a great deal.
You can use your roof’s existing chimney to secure a pole and add height to your Starlink dish.
However, if you don’t want a lot of height, you can simply use a mast, around 2″ OD.
You may also require straps and a pipe adapter to make your installation a breeze.
You can get a Starlink adapter that can adapt a mast or existing pole of 2.5″ OD to the Starlink dish.
However, not all chimneys are ideal for mounting your Starlink kit. Some may make the installation so difficult.
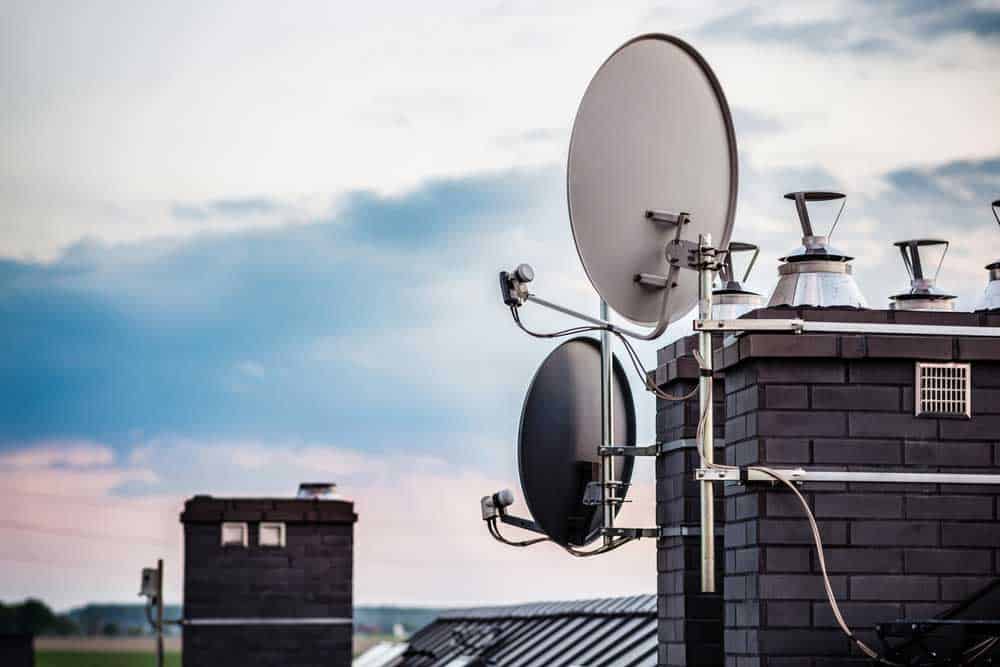
Satellite dish chimney mount
Starlink Mounting Options for Your RVs and Van
Starlink has revolutionized the world of recreational vehicles (RV) as well. Today, you can drive anywhere in the US and stay connected.
Having internet access in your RV comes with several advantages, including security.
Not all options will work for your RV. Starlink offers a special RV mounting kit called Flagpole Buddy to permanently mount the dish on your RV.
The kit comes with a Starlink adapter, a pole, and mounts. Your RV has an existing ladder to which you will attach the pole.
However, you can use your aftermarket pole or mast. You will require a Starlink adapter pipe for easy and stable mounting.
The pipe adapter should accommodate up to 2.5″ in diameter.
Final Thought
As a Starlink internet user, you must know the mounting options. It is the best way to get maximum experience from the internet package.
Different mounting options work for other people in different settings. We offer the most common mounting methods and when to apply them.
However, the options are not limited to these. You can improvise and come up with other methods.