About Pivot Mount Starlink, As you may already know, Starlink installation has several conditions before you enjoy the internet.
First, the dish has to be in an elevated position to keep it safe from animals and prevent obstructions.
Secondly, it has to have at least 100 degrees of clear sky view for maximum signal reception.
One of the accessories that can help you achieve these conditions is the pivot mount.
In this guide, we will discuss the pivot mount Starlink and how to install it to help you set up your network.
Box Contents
A pivot mount is a Starlink accessory suitable for mounting the antennae on a shingled roof.
It features a predrilled base, which you mount on the roof, plus a straight pole for fixing the dish mast.
The mount is perfect for patched and slanted roofs since it helps your dish face the sky while still angled.
Once your pivot mount arrives, you can expect the following items from the box:
- The pivot mount
- Carrying bad for transporting and storing the Starlink dish
- Two lag screws for fixing the base on the service
- 40 wall clips to help you route the ethernet cable
- Sealing tape (strips and squares) to seal leftover holes, hence preventing your roof from leaking.
Depending on the installation surface, you may also need the following tools to help you complete the task:
- A stud finder
- Socket wrench
- A drill and necessary drill bits
A socket wrench
Installation Conditions
After you have gathered all the tools and materials necessary for the installation, it is time to check the following conditions:
- Ensure you do not live in stormy and extremely windy conditions because the mount is not meant for such.
- Get a suitable mounting location for the router, which can be indoor or outdoor, thanks to its ratings. However, ensure you read the instructions concerning the installation environment.
- The power of the dish should be off to prevent electrocution
- Take necessary precautions when drilling to prevent injuries
- Install when the skies are clear to avoid obstruction
- Download and utilize the Starlink app to know where the dish should point
How to Install It
Let’s now discuss the procedure you can use to install your pivot mount successfully:
Locate a suitable installation area
As we said earlier, the dish requires a clear sky view to communicate effectively with the satellites in space.
For this reason, ensure your installation area is free from obstructions. You may use the Starlink app to find a suitable position.
Additionally, ensure the dish is far from any TV dishes or electrical mains to prevent signal interference.
Mark and drill holes
Since you have the right installation location, you can now mark the necessary holes and drill them.
However, it would be best if you used a stud finder to ensure the hole position is away from the nails.
Then, place the base of the pivot mount and trace its holes using a pencil.
Now insert the correct bit on the drill according to the screws and make the holes on the marking.
Finally, in this step, make balls from the sealing square. Use these balls to insert into the holes and place the sealing strip on top to seal them.

Drilling holes on the roof
Place the mount on the holes.
After that, hold the pivot mount firmly on the holes you made so they are directly above the surface holes.
While doing this, ensure the mount’s arrows point toward the roof ridges for proper installation.
It would be best to use the lag nuts to fasten the mount in place. I would recommend fastening each lag nut about 90% first.
Once you place each nut in its hole, you can use the socket wrench to fasten it tightly.
Adjust the mount’s arm.
Now, you can adjust the pivot mount arm position to be about 5 degrees vertical. After that, use the knob to secure it tightly in position.
Router your Ethernet Cable
The next step is to route the Starlink ethernet cable through the wall and into the house.
You should use the stud finder to ensure you do not interfere with plumbing and electrical systems when routing the cable.

Routing a cable on the wall
Mount the dish and power the setup.
In this last step, carry the Starlink dish to the roof using the provided carrying bag.
Once there, insert the dish mast properly on the installed pivot mount.
Now, you can insert the cable in its position and do the same on the router until you hear a click.
Finally, power your setup, wait a few minutes to reboot, and test your connection.
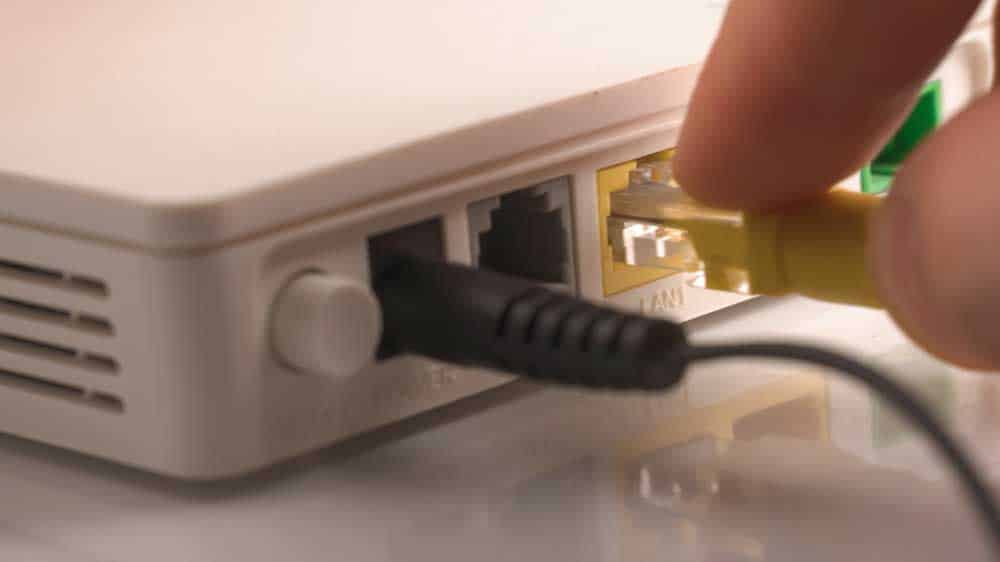
Connecting a router
What is the Difference Between a Pivot Mount and A Volcano Mount
While the pivot and volcano mount have similar usage, they differ in several aspects.
For starters, the pivot mount is taller than the volcano, which offers your dish a better elevation.
Additionally, the pivot mount is adjustable, making it ideal for slanted roofs.
On the other hand, the volcano mount angle is not adjustable, which means it is only for flat roofs.
Lastly, the volcano mount will only work with version 2 of the Starlink dish, while the pivot mount accommodates both versions 1 and 2.
How Much Does a Pivot Mount Cost
The pivot mount goes for around $42 from the Starlink online shop. You just need to log in from the app or the website and order it.
Conclusion
Now you know about the pivot mount Starlink and how to install it. What I like about this mount is that it is easy to install since it does not require much drilling.
However, if you encounter installation difficulties, it is always wise to hire a professional. Also note that the mount is unsuitable for flat, tiles, or clay roofs.