By now, you’re probably thinking about how to reset Starlink. And that’s understandable! After all, it comes in handy whenever something goes awry with the connection or the whole thing just doesn’t work anymore.
But now you won’t need to worry! That’s because this article will help you reset Starlink so you can use it again. Let’s buckle up and get into it!
Reasons You Should Do A Reset
Resetting the router is a great idea if your Starlink internet slows down or has other problems like disconnecting randomly.
That’s because doing this will set it back to its default state. And resets are recommended after you move into a new building or give the hardware away to another person.
Additionally, resetting will wipe out all the saved data, like the WiFi name/password and connected devices.
Of course, there’s no set rule on when to reset, so you can do it any time you’d like.
Resetting The Router
Example of a router.
You can reset the Starlink router using the short steps below. These will typically involve power cycling the device and connecting to the WiFi.
It’s pretty straightforward and doesn’t take much effort.
Gen One (Circular) Router
The Gen One Starlink dish/router is very easy to reset. So, turn your router upside down. From here, you’ll see a small reset button on the bottom.
Use a pencil, paperclip, or pen to press down on it, and resetting should take a few minutes. After starting up, connect the router to your Starlink Wifi.
You can do that by launching the app and selecting ‘Settings.’ Then, choose the ‘STINKY’ or ‘STARLINK’ network.
Finally, a ‘ROUTER NOT CONFIGURED’ message will pop up on the app screen. Tap on it to set up your new WiFi name and password.
Gen Two (Rectangular/Dishy) Router
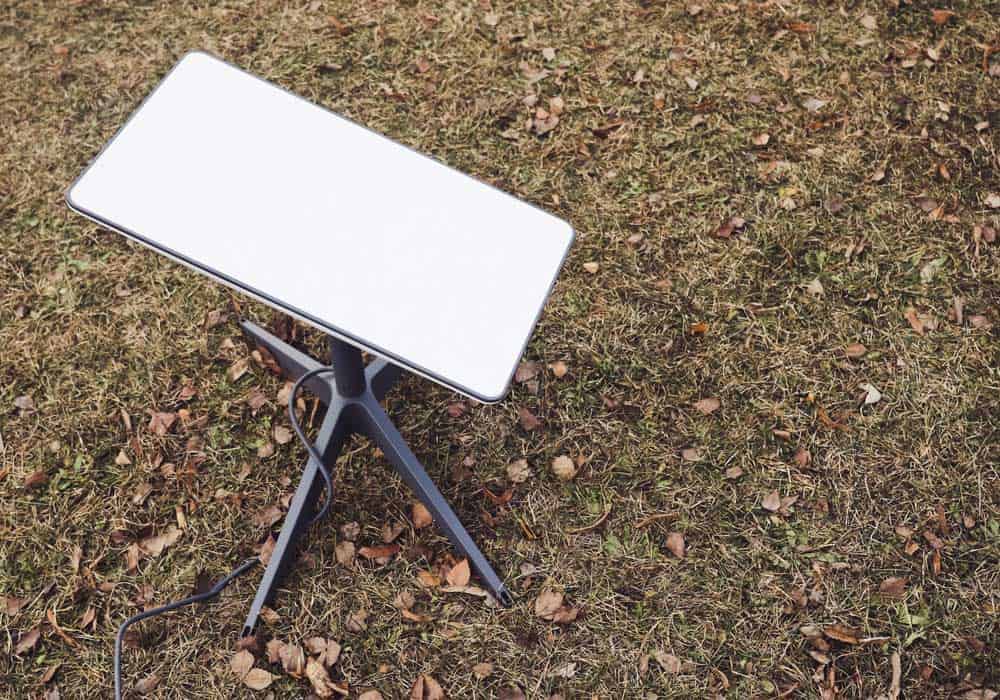
Starlink Dishy.
A Gen Two router reset is different because it lacks a reset button on the other router. Despite that, you won’t have difficulty working on this one.
You only need to disconnect the router cable from the wall socket. Wait five seconds before plugging it back in, and keep doing this step five times.
Once that’s dealt with, connect the cord to the socket. You should then wait two to three minutes for the router to start.
Make sure you connect with Starlink WiFi before making a new WiFi name/password in the app.
Mesh Node
If there’s a Starlink mesh node in your place, you can reset it. To do this, connect and disconnect the power cord from the wall socket six times — called power cycling.
Restarting should take seconds to complete, so stick around for a bit. Afterward, ensure you link to the Starlink WiFi and launch the Starlink app.
It’ll take one or two minutes to ask if you want to pair the mesh node with the network. When it does, just push the ‘PAIR’ button.
Another one to two minutes should pass before the node finally connects to your network. Did you know you can verify if the mesh mode is connected?
It’s easy — open the App’s ‘Network’ tab, and it will list your node.
You Can Also Reboot

Starlink satellite dish.
Rebooting the router by disconnecting the cord or using the app can help resolve any internet-related issues.
This section covers restarting the satellite dish and router. Let’s take a look at what you can do to get things rolling again.
Disconnect
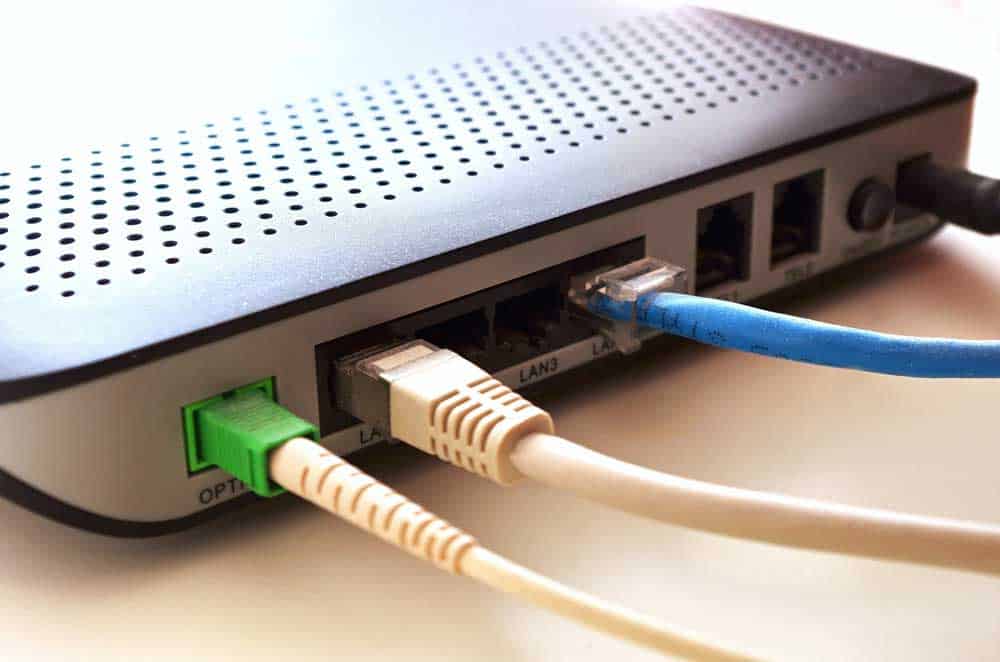
A router with the cord.
There’s another thing you can try — unplugging/plugging in the router cord. But make sure two to four minutes have passed before connecting it again.
Be aware the Starlink dish may self-align so its antenna points toward the nearest satellite in the sky.
This is a normal process while attempting to reestablish a connection.
Also, disconnecting the 50-foot dish cable will reboot everything. If you choose this route, you’ll need to remember the cable may not plug back in right.
Either that or it could become loose over time. Thus, it’s better to unplug the router instead.
Use The App
Additionally, the Starlink app makes rebooting very easy. Open it up and tap the ‘Settings’ option.
Then, go to the ‘REBOOT ROUTER’ section and drag the slider as instructed on the screen.
Next, you’ll need to wait a bit for the router to restart. When that finishes, head to the ‘Settings’ menu and select your home network.
You can restart the dish antenna using the same steps. Except you’ll need to select the ‘STARLINK’ tab on the ‘Settings’ page.
Then, drag the ‘REBOOT STARLINK’ slider to the right. Restarting your Starlink dish antenna will take sixty seconds.
After fifteen minutes, you should have a steady network and can finally use the internet again.
Summary
Everything should run more smoothly after you reset Starlink. And if you run into similar problems in the future, you’ll know what to do next.
Just make sure you follow all the steps to a tee — otherwise, it may not get fixed.