About Google WiFi Ports Explained: If you look at the older Google WiFi device and newer Google Nest WiFi, you’ll need Google WiFi ports explained.
Why? Because the more recent Google Nest WiFi Mesh devices don’t have ethernet ports.
The Google router ethernet ports connect to the internet and let you establish a local network. It’s simple.
The LAN port creates the network with your router, while the WAN port is the connection point between your modem and the internet.
However, one vital yet unforeseen advantage of the Google WiFi ports is the ability to create a wired backhaul or a mesh network.
This is your definitive Google WiFi ethernet ports explained guide.
What Are The Different Ports On Google WiFi?
Flip over your Google WiFi device. You’ll see two Ethernet ports on either side of the power port.
There is a WAN ethernet port and a LAN ethernet port. They are both marked to get them right when plugging in your devices.

The router in the background showing LAN and WAN ports
The left port is the wide area network (WAN) port. It’s marked with a globe, indicating it’s strictly for connecting to the modem to provide internet access.
The right port is the local area network (LAN) port. It’s marked with a line and two arrows indicating you can connect devices directly to it and access the internet from those devices.
Each of the ports works best with a CAT5 or CAT6 ethernet cable. CAT5 and CAT6 guarantee fast speeds and stable signals.
While both ports accept CAT5 and CAT6 cables, you should not connect devices directly to the WAN port. And here’s why.
You will create opposing LAN networks. Your router will have a hard time assigning addresses to the devices. Double LAN networks in the same network create double NAT.
Double NAT lowers incoming speed, which causes an overall delay in device performance. The delay is not only seen in incoming traffic.
Any outgoing traffic will also have delays, causing issues such as lag in high-speed online activity like gaming and HD streaming.
What Is The Difference Between WAN and LAN Ports On Google Mesh?
Structurally, there is no difference in the Google Mesh’s WAN and LAN ports.
If you check the more recent Google Nest WiFi devices, you’ll notice they have no ethernet ports. That’s because they are designed to connect wirelessly.
The main difference between WAN and LAN ports on Google Mesh is the WAN port is specifically for a modem connection. You have no internet without that modem connection.
That leaves only the LAN port. The LAN port accepts direct connection to devices. You can connect your computer, switches, and any local device.
Unlike the WAN port, the LAN port accepts devices that expand capacity for other devices.
The LAN and WAN ports on Google Mesh are also different in speed.
The LAN port supports much faster speeds than the WAN port. The speed difference is down to three reasons.
Speed Caps from ISPs
ISPs offer different internet speeds according to pricing plans. Faster speeds come at higher costs.
Also, you might need to pay extra if you exceed the allocated data. Therefore, you might experience low-speed incoming through the WAN port if the ISP has capped the maximum speed.
Long Distance
Data travels over long distances before it gets to your devices. Naturally, the signal loses speed as it travels.
Therefore, you might receive lower speeds than advertised from the Google Mesh WAN port.
Natural Interference
Whether it’s fiber cable or satellite internet, your signal loses strength and speed. Interferences from electromagnetic signals and obstacles reduce incoming data speed.
Therefore, you get lower speeds in the WAN port than the LAN port of your Google WiFi.
What Is The Speed Of Google WiFi Ethernet Ports?
Google WiFi Ethernet ports support speeds of up to 1 Gbps.
However, you can only experience speeds as fast as your ISP provides. The 1 Gbps speed cap is still okay, especially if you plan on connecting multiple devices to the Google WiFi LAN port.
Faster incoming speeds into the WAN port means you can create a wired backhaul from the LAN port. That way, you can extend the fast speeds into the rest of the house with added wired devices.
How Can You Increase Google Router Ethernet Ports?
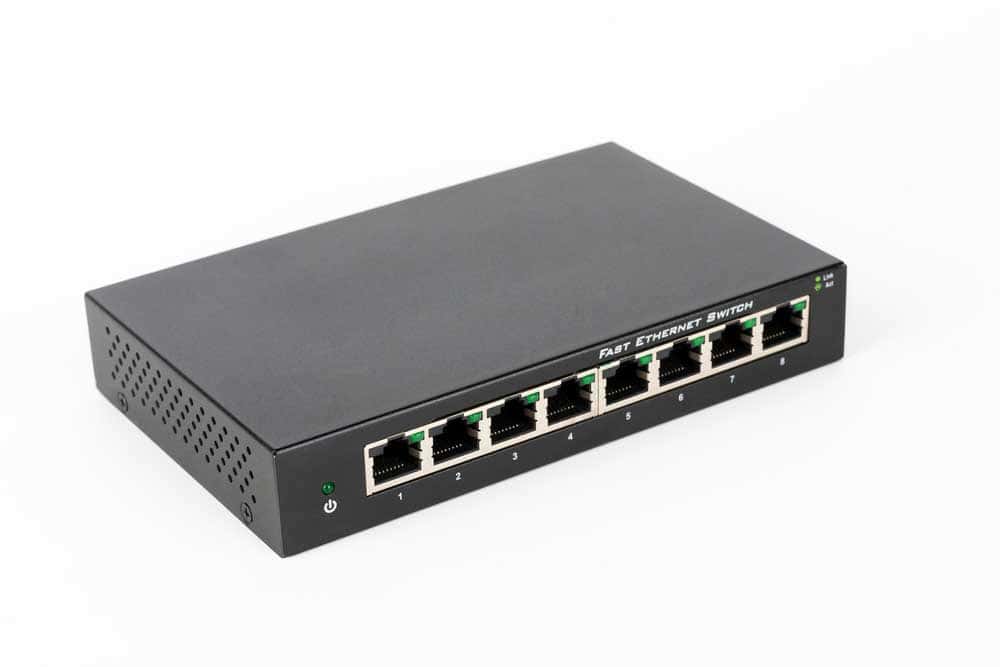
An 8-port unmanaged switch
With one port already dedicated to router-modem connection, that only leaves you with one port to connect devices.
If you only have one device, such as a PC or desktop, you can connect wirelessly or using an Ethernet cable.
However, what if you want to increase the number of devices in the network?
A switch is the most practical solution to increasing Google Router ethernet ports. The switch is simply a device with multiple Ethernet ports where you can connect other devices using CAT6 or CAT 5 ethernet cables.
For your home network, you can get an unmanaged switch. Unmanaged switches can have between 2 and 16 ports for other devices.
The best upside for an unmanaged switch is you don’t have to configure it to use it.
Simply connect the switch to the Google router’s LAN port using an ethernet cable and connect other devices.
How To Use The Google WiFi LAN Port
While you can connect your devices to the Google WiFi LAN port, you can also create a mesh using the Google WiFi devices.
A mesh network lets you expand Wi-Fi coverage throughout your home. The basic anatomy of a mesh network is as such.
Modem – Your Google WiFi device – Google WiFi node. Alternatively, you can add a switch first before adding the WiFi node.
The LAN port enables you to establish a wired backhaul. The wired backhaul will have fewer interruptions and maintain faster speeds for the mesh network.
Step-by-step procedure to create a Google WiFi LAN port backhaul
To set up a Google backhaul, you must have the Google Home app.
- Unplug your modem from power to reset it.
- Connect the modem to the Google WiFi WAN port.
- Plug one end of the ethernet cable into the LAN port and the other end into a switch.
- Plug the power cord into the Google WiFi.
- Plug the modem’s power cord into the modem.
Your modem and Google WiFi are now switched on and ready to connect. You’ll know the Google WiFi is connected online if you see the white LED light.
Setting up the wired backhaul
- Open your Google Home app.
- Click “Set up 2 devices”. You’ll get a ”Choose A Home” prompt after clicking NEXT.
- It’ll search for devices and bring options. Pick “WiFi Router”.
- Scan the Google WiFi’s QR code at the bottom.
- Accept to join.
- Input the SSID name and secure password. We recommend using your network name.
- Pick the device’s location.
Once you see the connection with the SSID name, the main Google WiFi router is set up.
You must add a new device to the main router to create a wired backhaul.
Connect a Google node as an access point using an Ethernet cable connection. The node connects directly to the Google WiFi device.
Finally, confirm on the Google Home app if all the nodes are on the network.
Conclusion
Google WiFi routers come with ethernet ports. You can use the LAN port to connect your device directly to the Google router.
The WAN port connects to a modem to access the internet. Also, you can add an unmanaged switch to expand the LAN port capacity.
You don’t need further setup to connect devices to the switch.
Follow the guide to set up a wired backhaul to extend WiFi coverage in a large home.